

Isn’t it beautiful what Charles Dudley Warner says – “So long as we are dirty, we are pure.” Probably that’s the reason why my hands are always dirty cooking and baking one thing or another! Mississippi Mud Pie is exactly that.. dense, dark, muddy, brown, and sticky like the muddy banks of the Mississippi, where the pie was probably invented, but much more tasty for sure!
The Mississippi Mud Pie is a classic dessert and like all classic dishes, it too has undergone its share of evolution, experimentation and has innumerable variations today. Almost everyone has their own take on it. I do too.
So let me help you in better understanding of what this dessert is all about. I will tell you its basics and then I get to share my take on the Mississippi Mud Pie!!! Because, honestly, I used to really get confused as to what its all about.
This dessert essentially is a layered dessert consisting of a minimum of three layers. The base layer is a biscuit base made with chocolate cookies or it could be a crust made with flour, ground or chopped nuts and butter. The second layer is a flourless chocolate cake and the final layer is mostly a rich chocolate ganache. Having said that, anything more than these layers or minor variations in these very layers would be counted as your take on the mud pie. Ain’t it simple!
Note: The sound and look of this pie can be daunting but believe me its not that hard. Just follow these steps through.
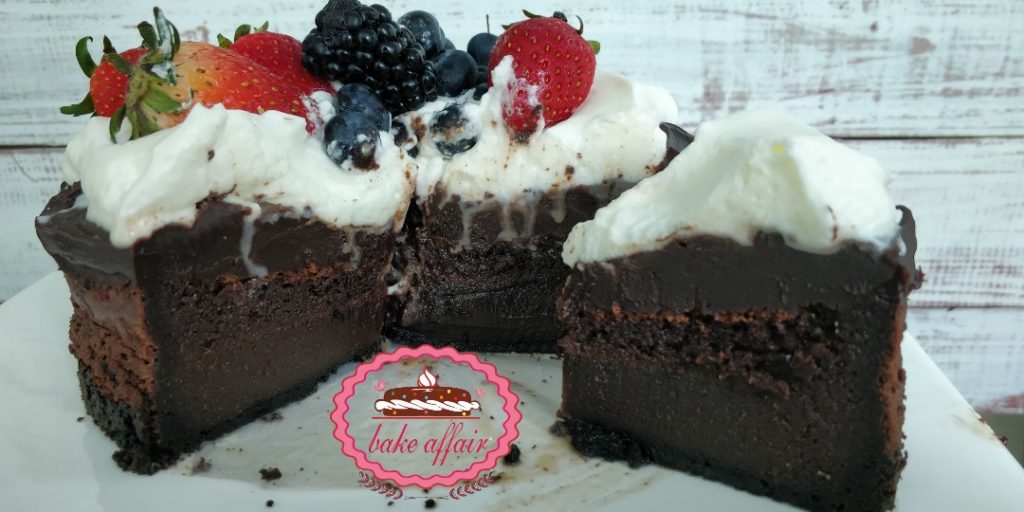
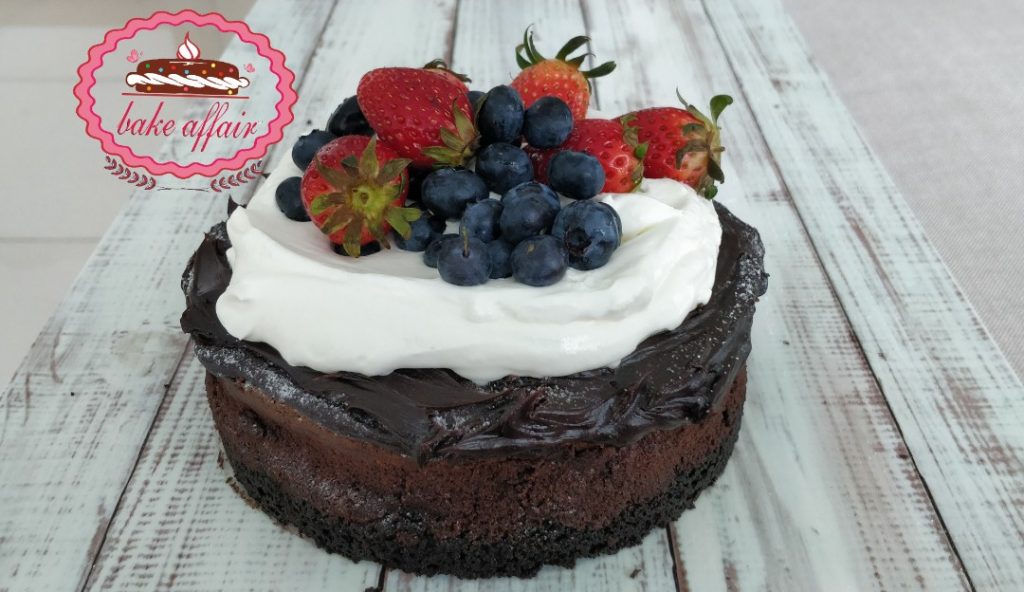
So in my version of this pie, there are 5 layers (always the overambitious me) – Oreo crust, Flourless Chocolate cake, a rich luscious dark Ganache, Whipped Cream and finally a load of Berries.
In my house this super rich dessert does not last longer than 12 hours tops.
So Let’s Get Started!! This recipe will give you a high pie if you baked it n a 6 inch springform pan like I did. You can easily use an 8 inch pan too.
Layer 1: Oreo Crust
Note: You can use other cookies or even graham crackers (digestive biscuits) for this but Oreos are recommended because you want your Mud pie to be really “muddy”, right?

Here’s what you need:
- Oreos – 10
- Butter (melted) – 4 tbsp
How to make it:
- Crush the Oreos to a fine powder and add melted butter to it. The mixture should look like wet sand.
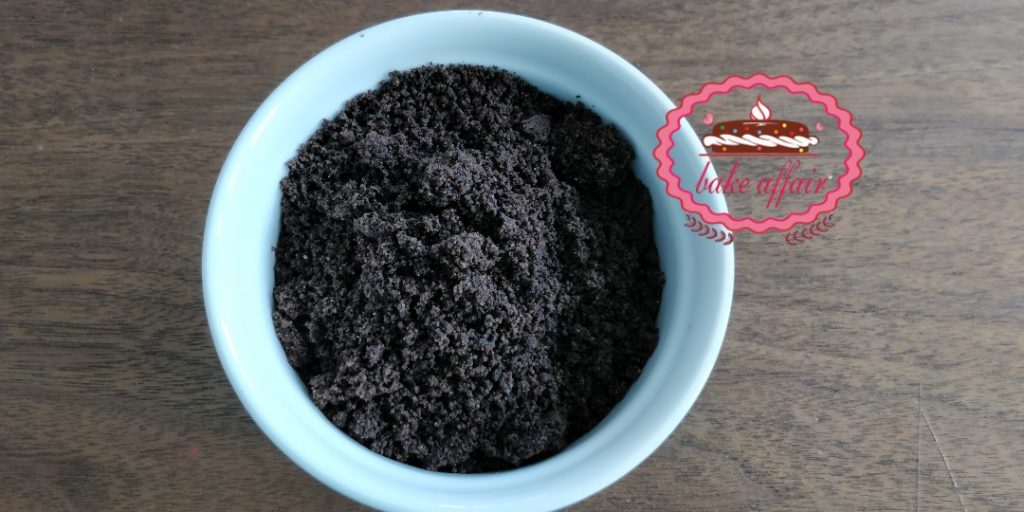
- Put this is the springform pan and spread all over the base evenly.
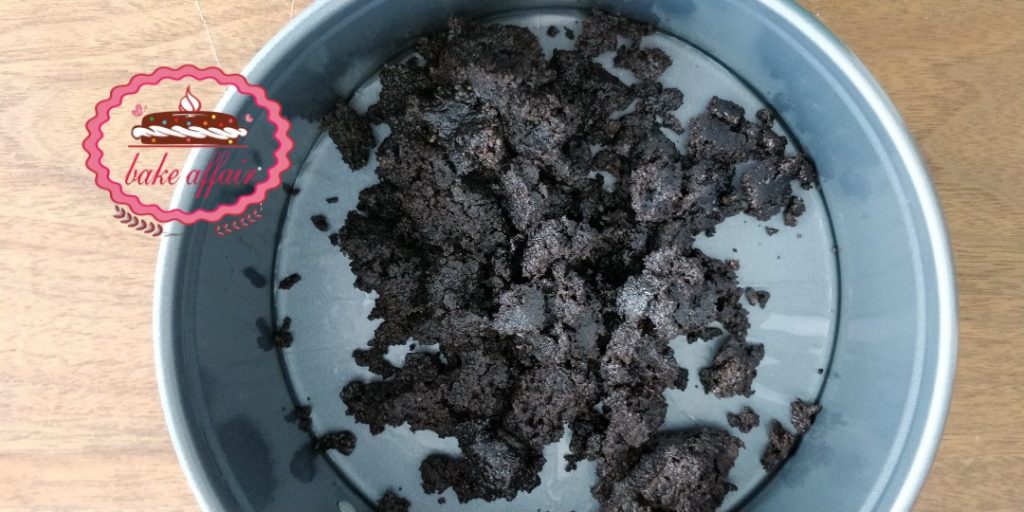
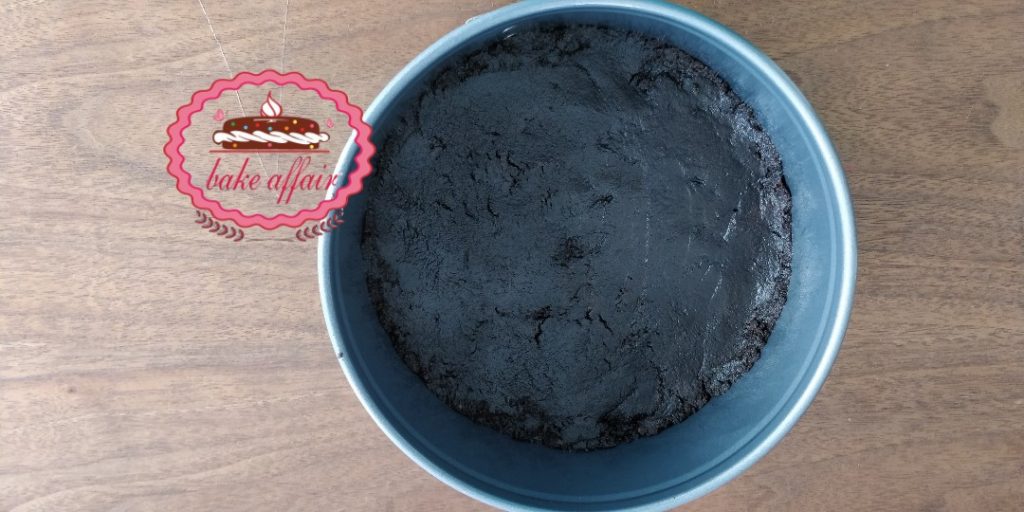
- So that’s your first or base layer for the Mississippi Mud Pie done.
Layer 2: Flourless Chocolate Cake
Note: As the name suggests, this layer is a flourless chocolate cake. Its thick and dense and so good.
What You Will Need:
 Dark Chocolate (chopped or buttons) – 120 gms
- Butter – 80 gms
- Sugar – 160 gms
- Eggs (separated) – 4
- Cream – 120 mls
- Vanilla – tbsp
- Coffee (optional) – to taste (I would recommend 1 tsp)
How To Make It:
- Mix the coffee in 1/4 cup of hot water and leave to cool.
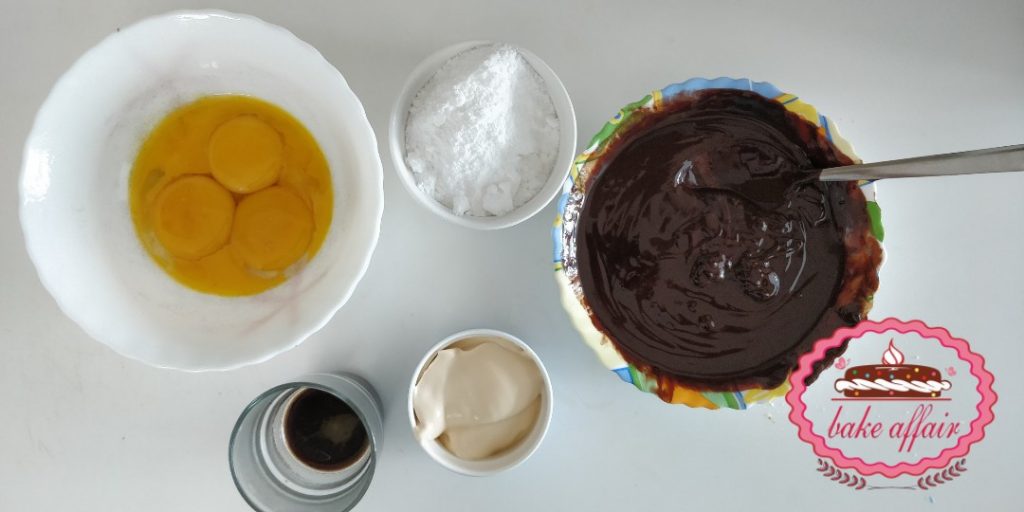
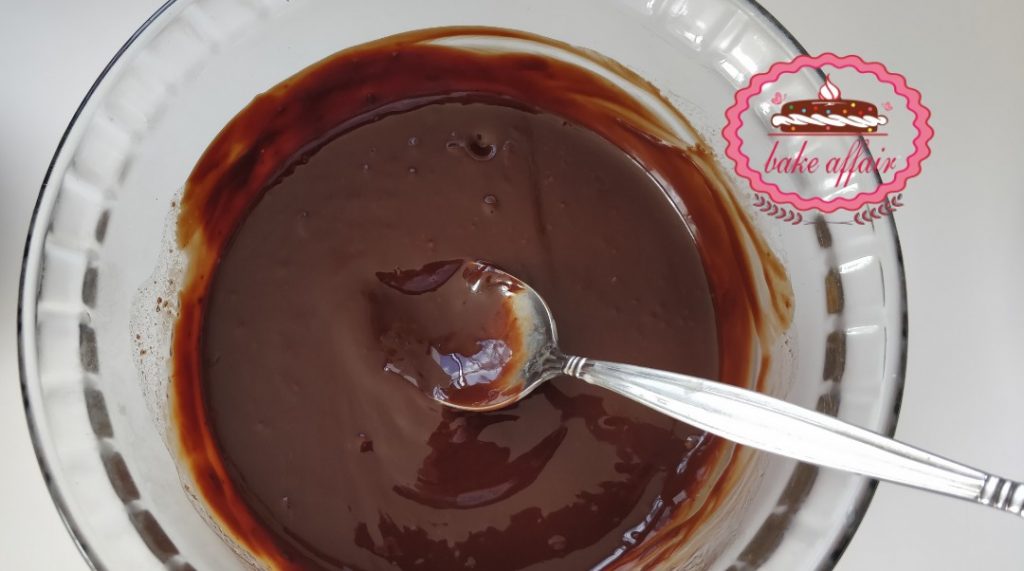
Melt dark chocolate and butter and stir it well to get a smooth shiny sauce.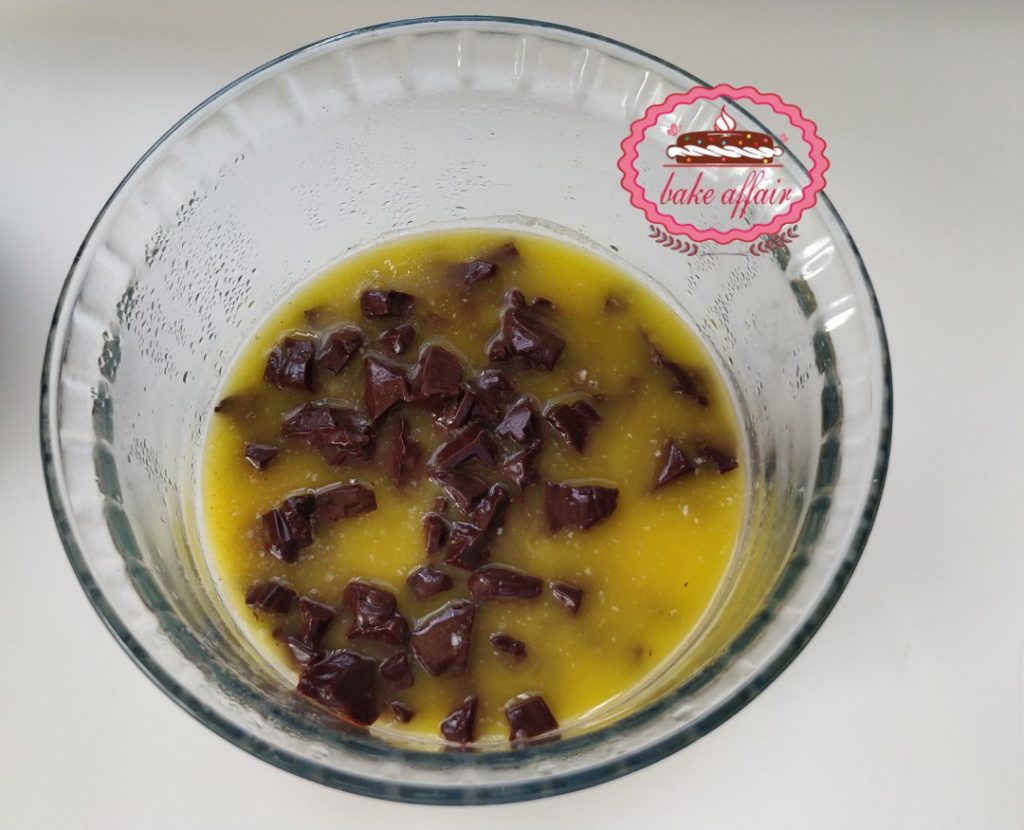
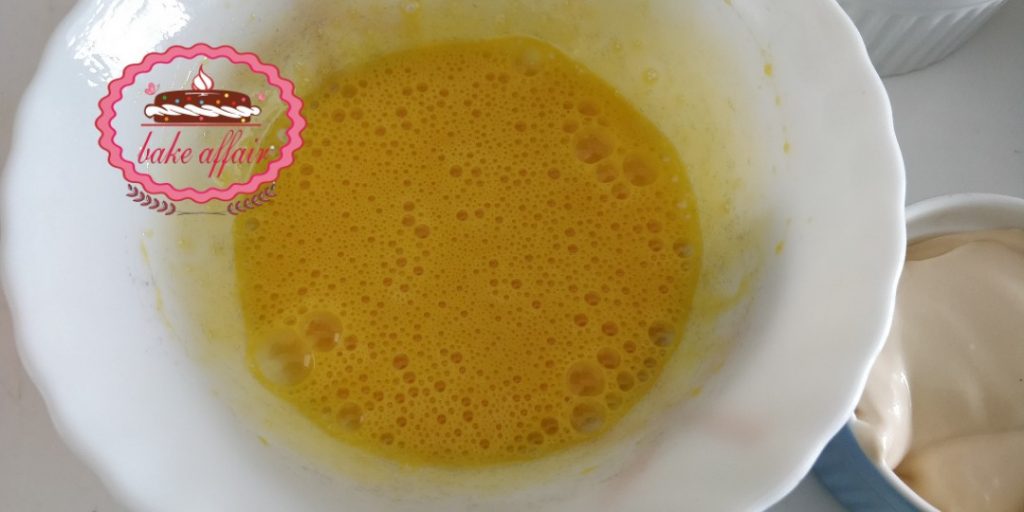
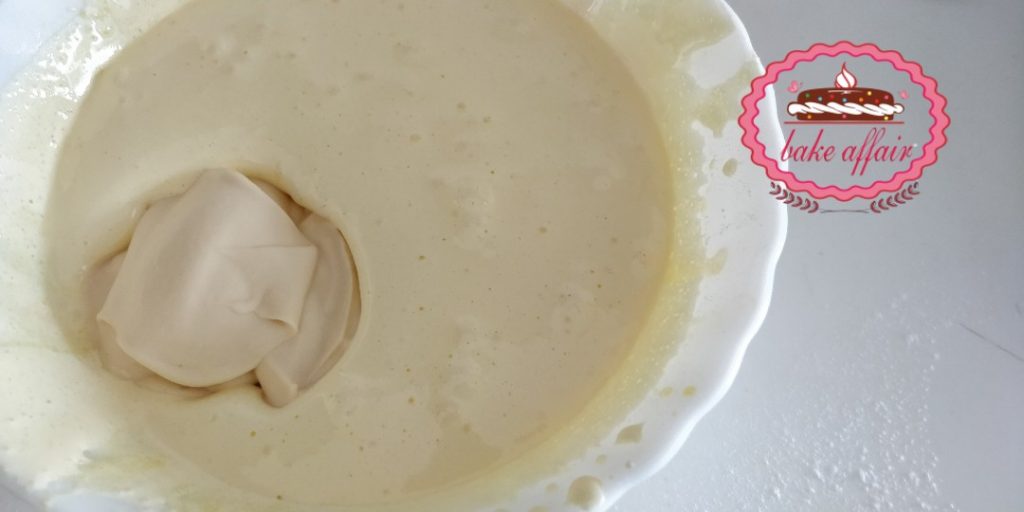
- Beat the egg yolks with sugar for 2-3 minutes till you get a creamy ribbony textured mixture.

- Mix in the cream and the chocolate-butter mixture, which should be at room temperature. Mix using a spatula or spoon.
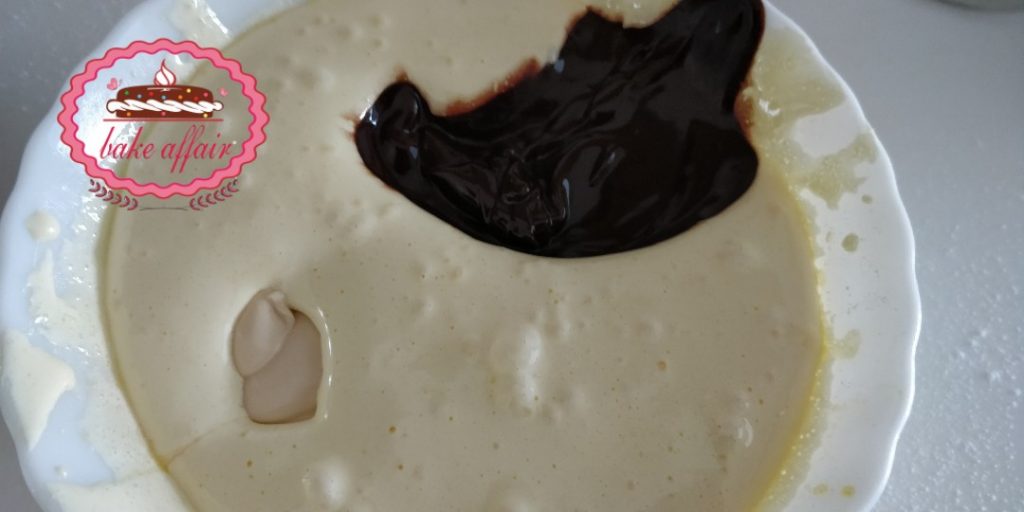

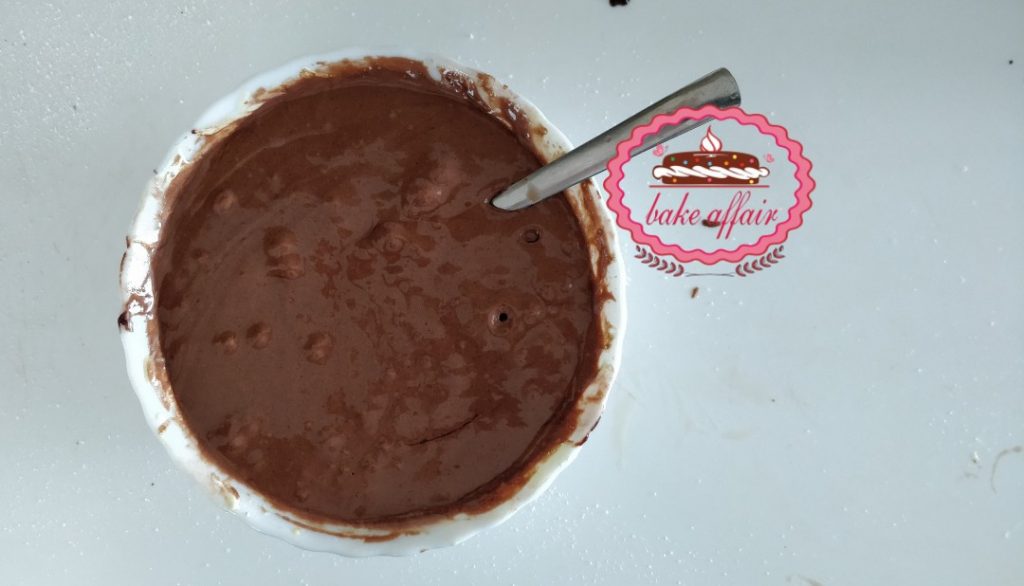
- Add in the coffee and mix.
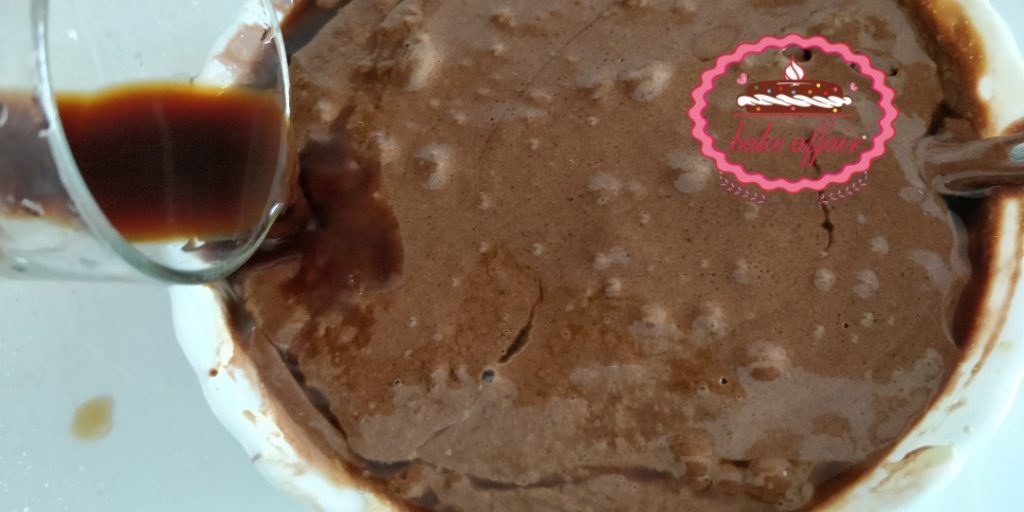
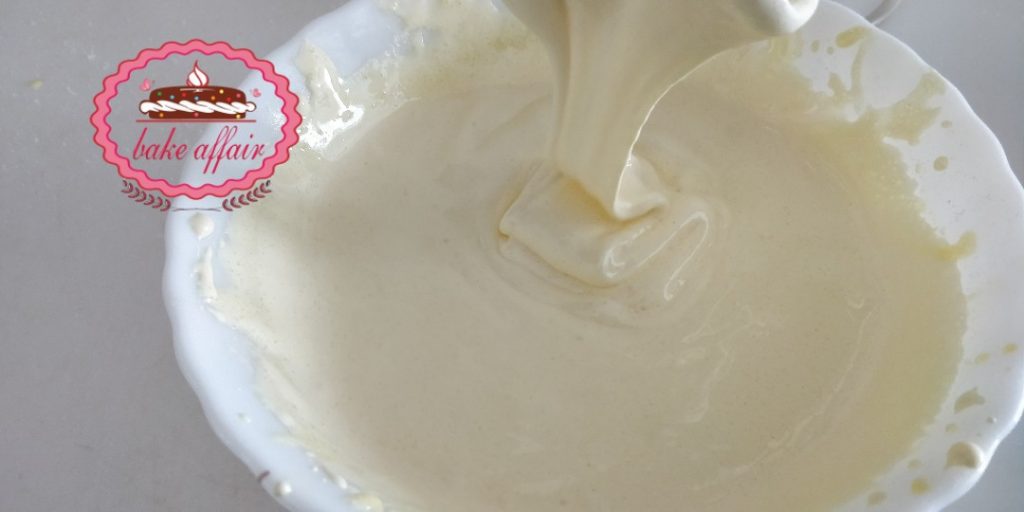
- Whip the egg whites till you get a meringue (stiff mixture).
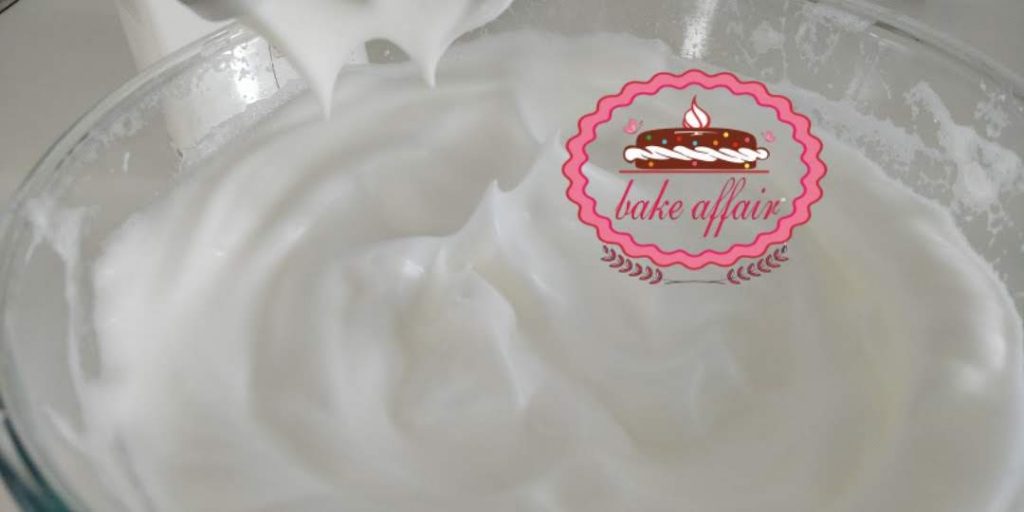
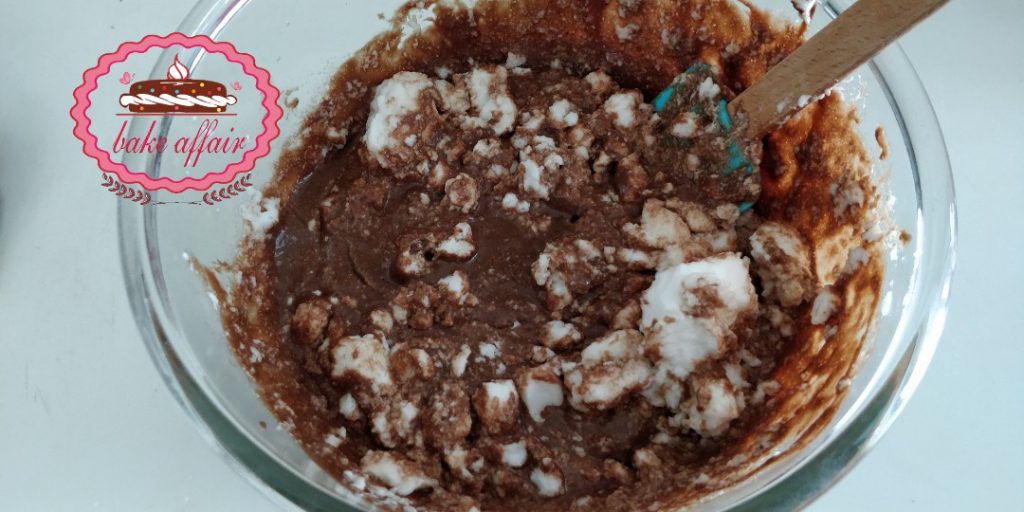
- Add this meringue to your cocoa mixture in three batches and fold gently till the mixture is homogeneous. You will get a light and liquid batter. Its perfectly alright because that’s how it is supposed to be.

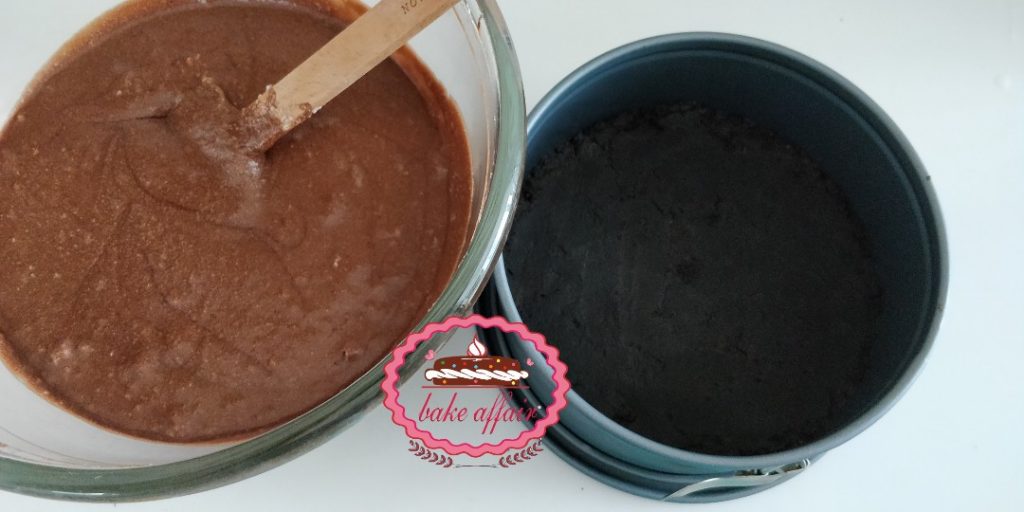
- Now take out the springform pan from the fridge and pour this batter over the Oreo crust.

Bake it at 180 C for 40 minutes.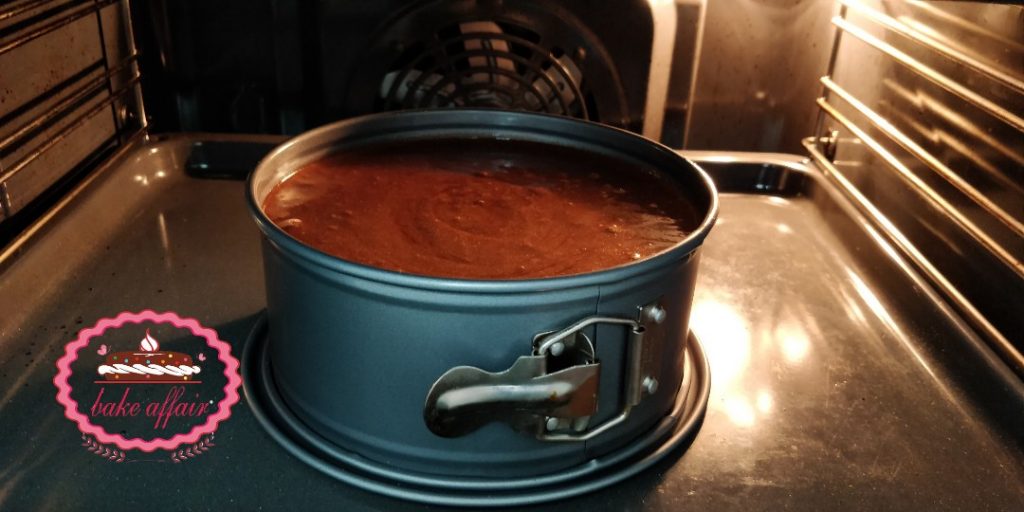
- Bake at 180º C for 40 minutes.
- While the cake bakes, you can get on to the third and fourth layers.
Layer 3 : Chocolate Ganache
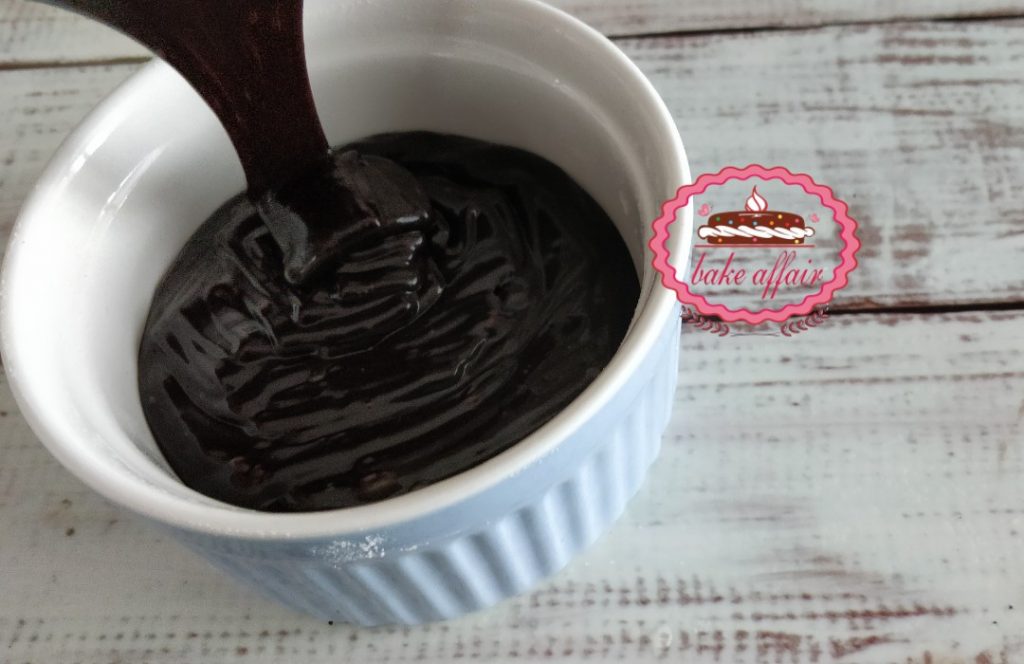
Use 200 gms of chopped dark chocolate or chocolate buttons and 100 mls of cream to make this ganache. Learn how to make ganache (in detail) here.
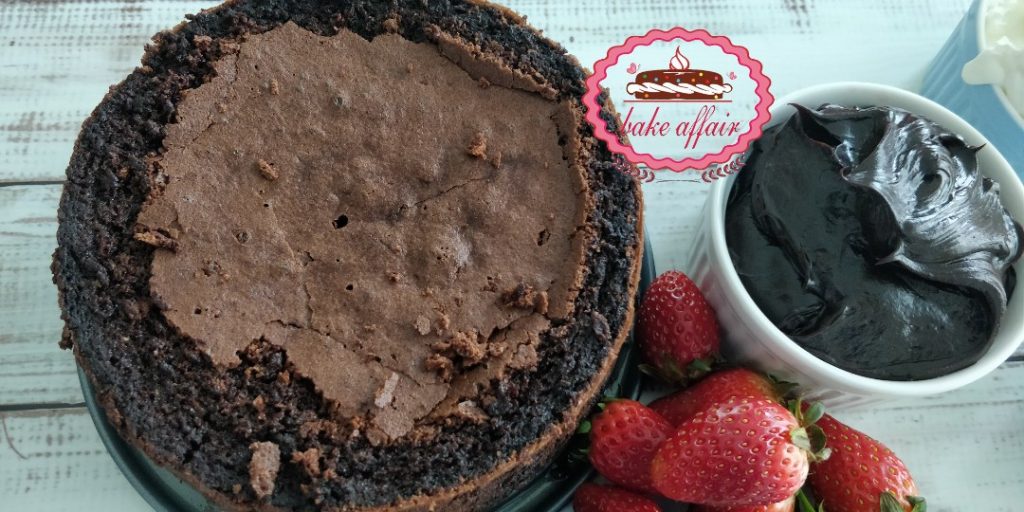
Keep the ganache to cool and settle down for an hour or so. After that it looks luscious and sinful like this one below!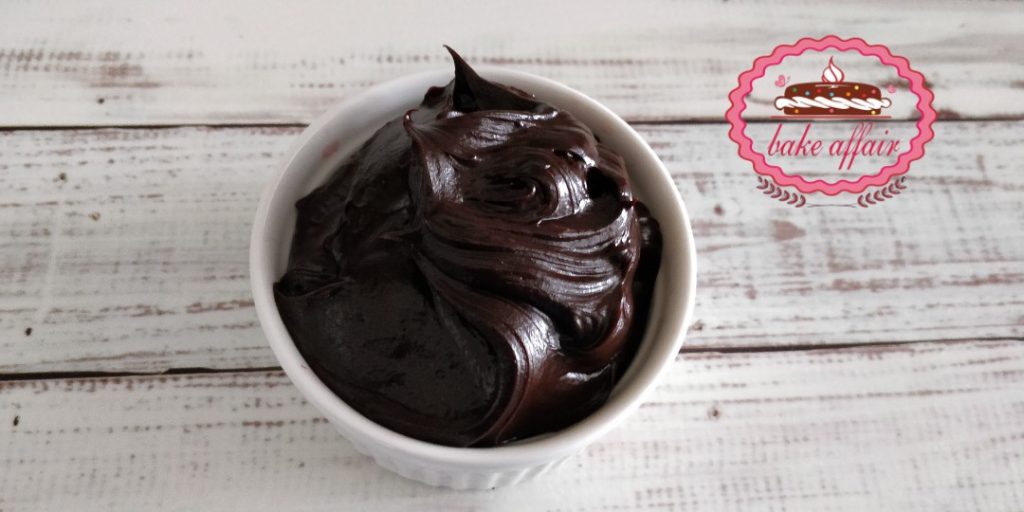
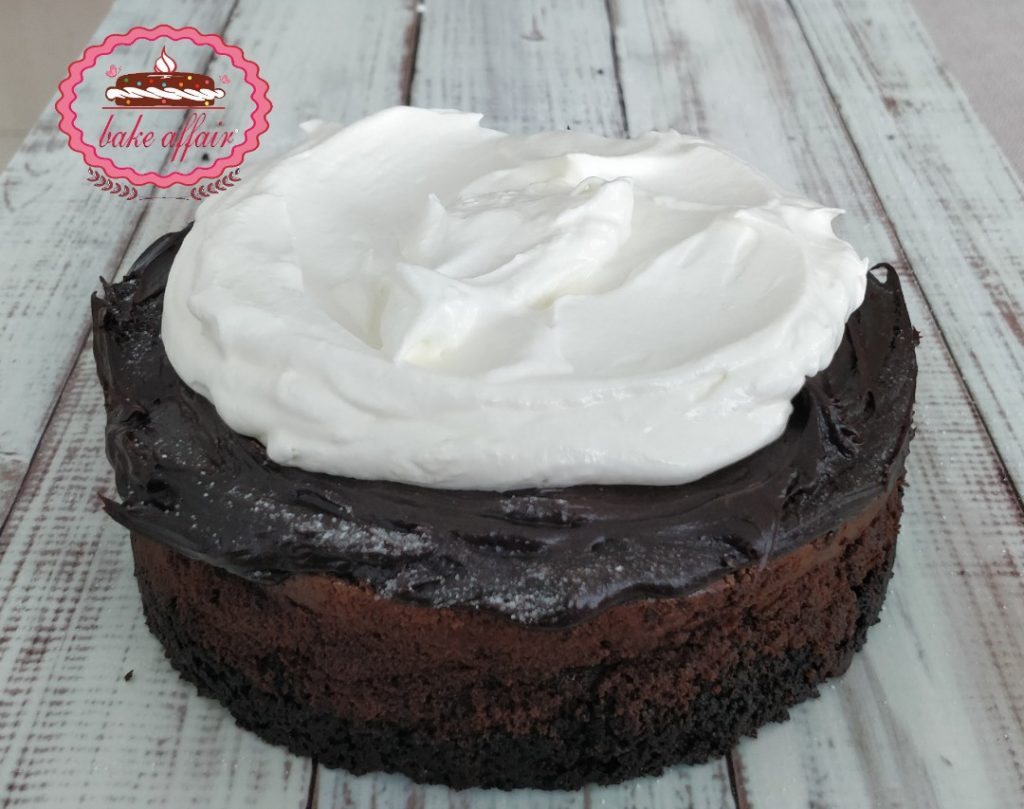
Layer 4: Whipped Cream
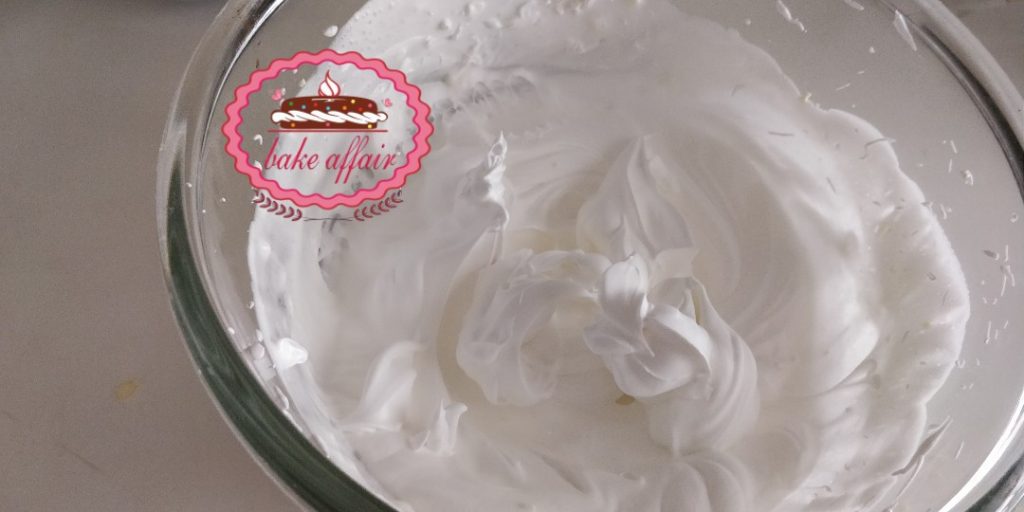 How much cream you will need really depends how much of it you want on there. But I’d say a 100-150 ml of cream whipped to stiff peaks should suffice.
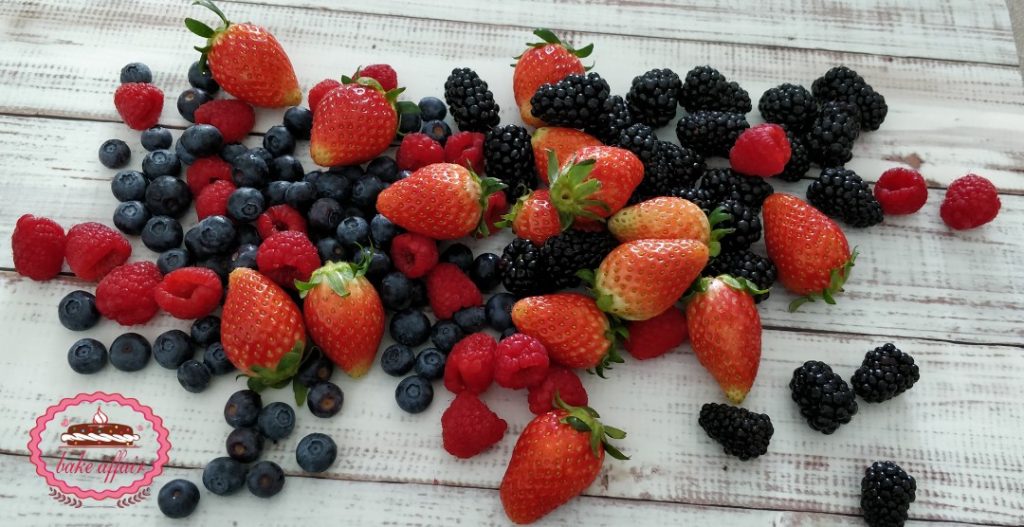
Layer 5: Fresh Berries (and other options):
This is a layer is my own addition to the Mud Pie, that is to say, its not part of the traditional Mississippi Mud Pie. This layer is here because of my undying love for fresh summer berries.
Assembling the Mud Pie
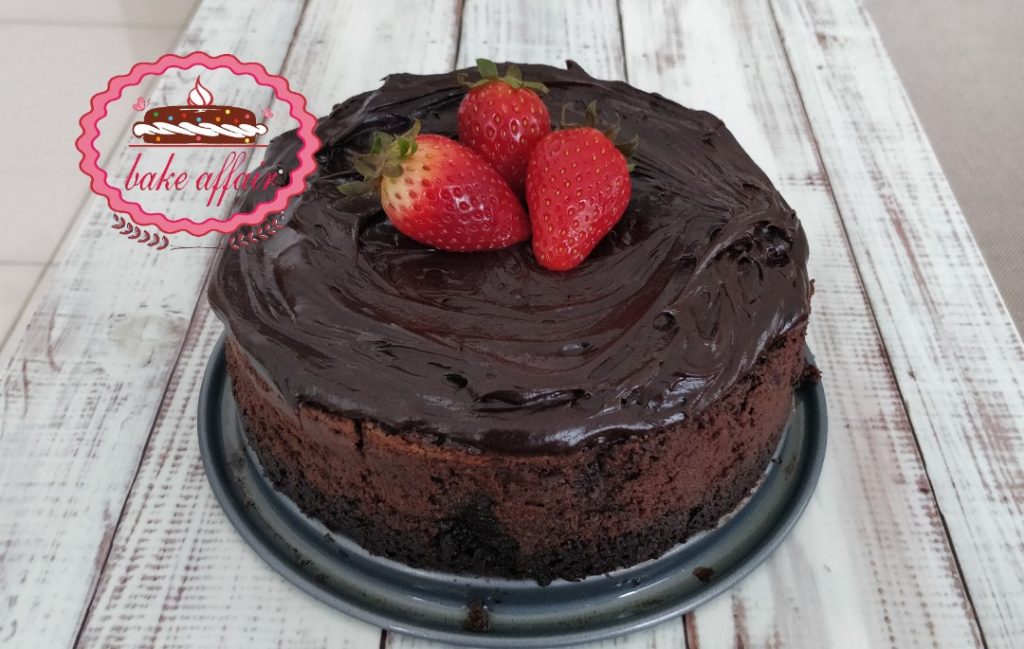
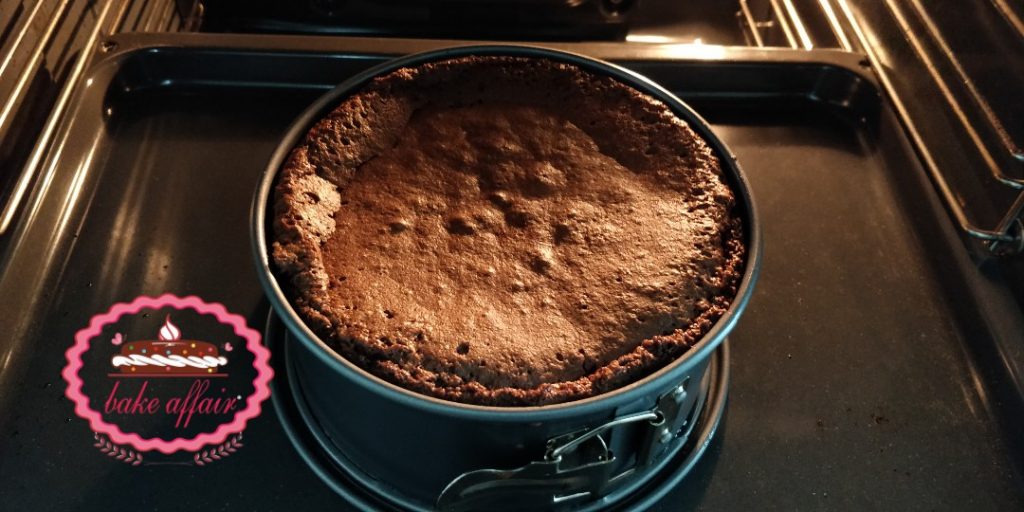
- This is what you get when the cake comes out the oven. It is risen well.

- But after cooling, the dome flattens down. This happens because this is a flourless cake and there is no flour to give structure to the cake.
- So this is our canvas for further work!
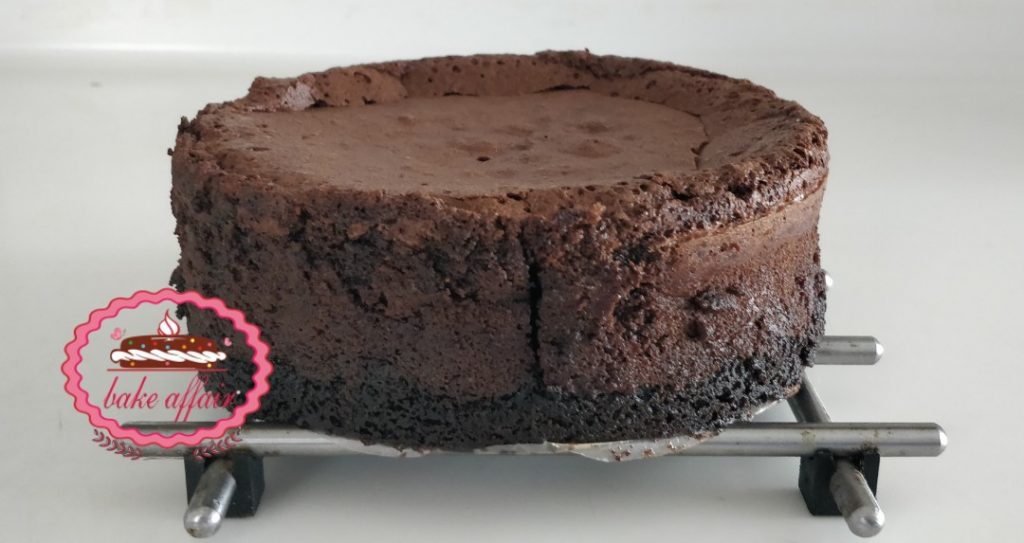
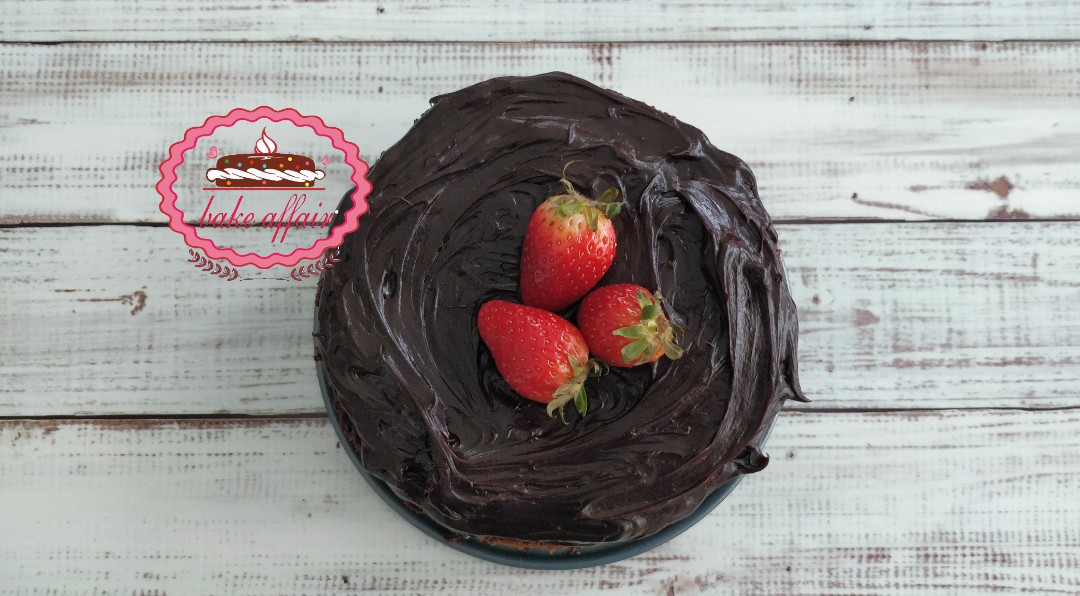
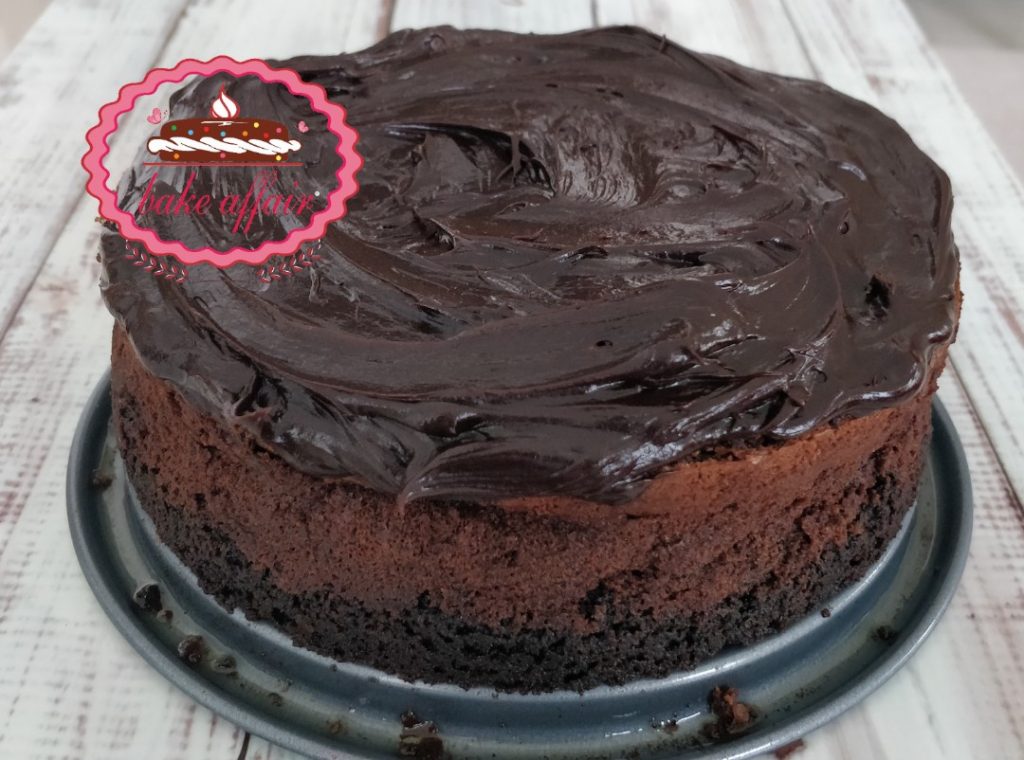
- Make sure this is cooled well. Chilled is great. I took off the side crust as it was a little higher than the rest of the surface. You need not do it.
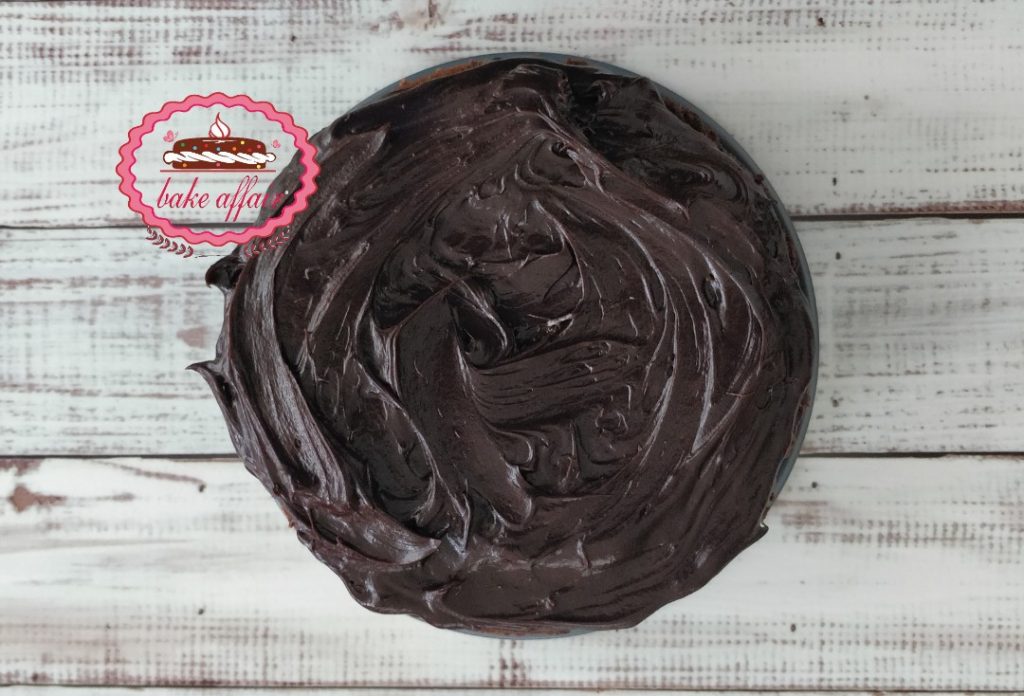
- Now add dollops of your beautiful ganache over it and give it a spread. As you all know I like to keep my cakes rustic and home like, so I stopped at spreading it (more or less) evenly. You could make it as neat as you like. Don’t miss the luscious shiny beautiful ganache!!!!
- Now for the Topping Options other than berries as I said above:
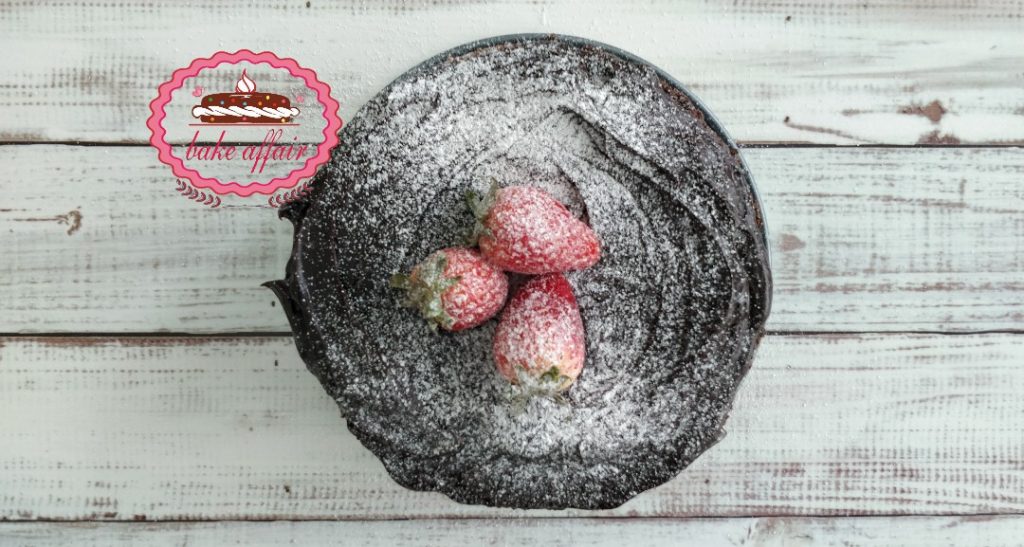
Sprinkle icing/powdered sugar on top. (I had strawberries too so I added a few)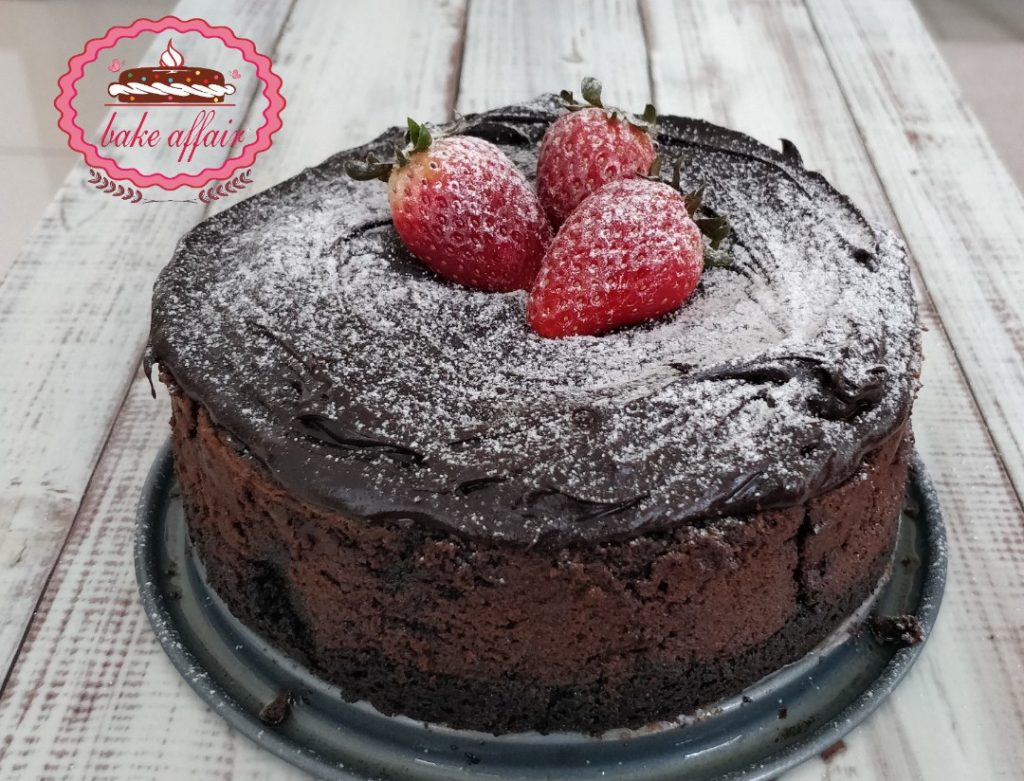
- You can choose to chop mixed nuts of your choice and top the pie with those.
- Other fresh fruit that you think would go well is always an option like Orange slices go so well with this. Who not caramelize them and the use?
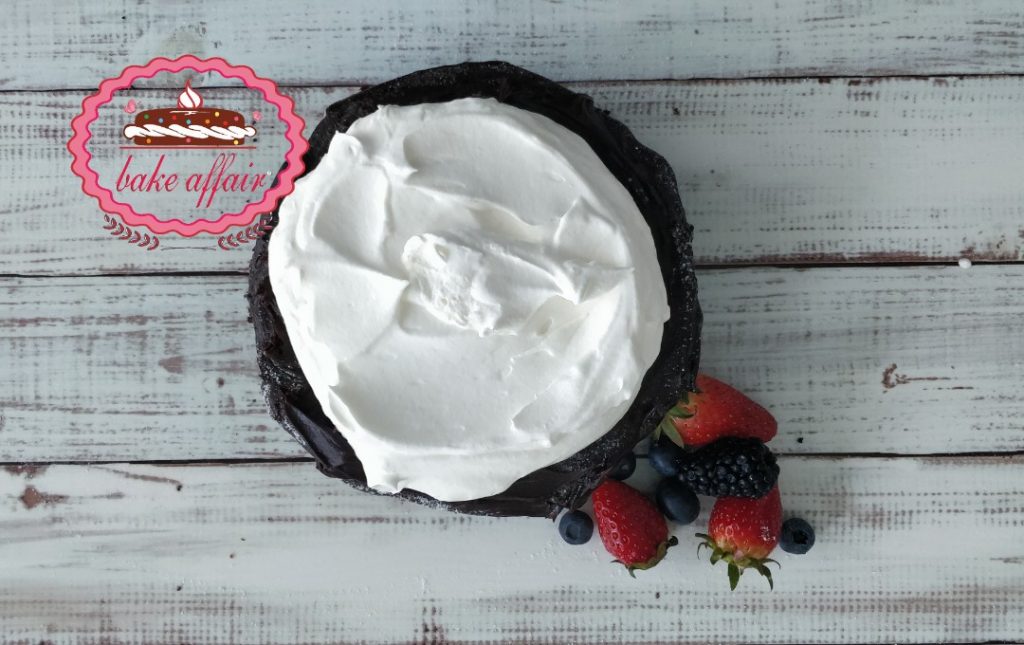
- Time to get our whipped cream out of the fridge. As with the ganache, I just load the cake with dollops of whipped cream and give it a rough spread.
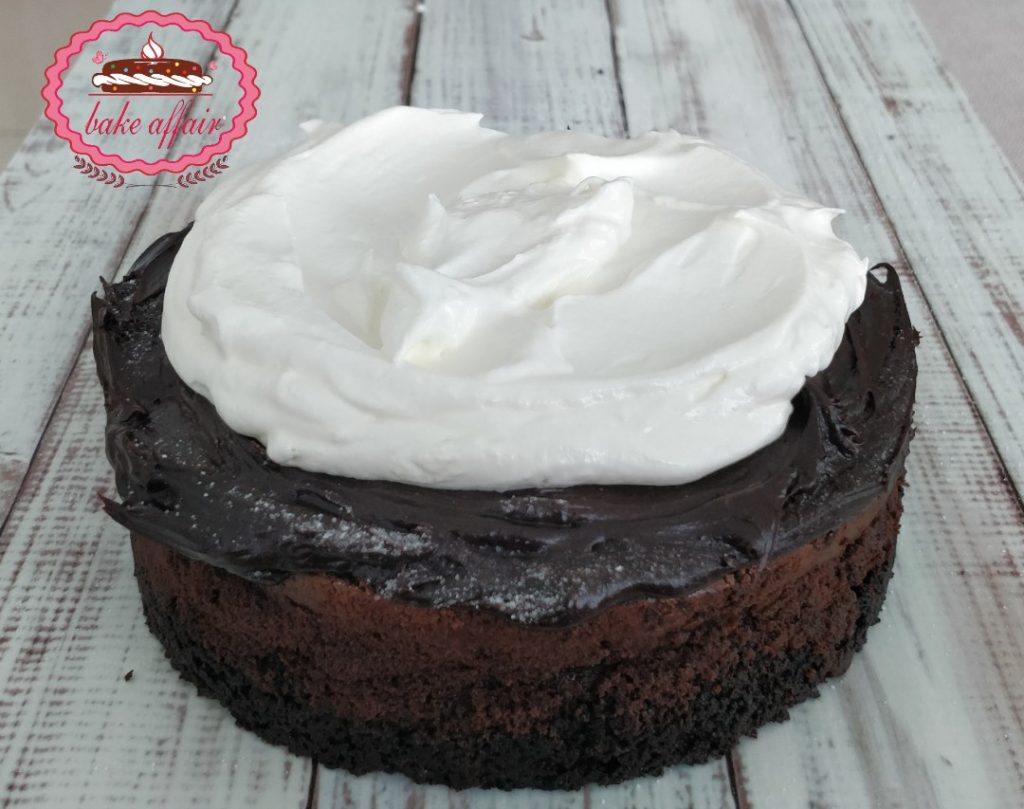
- You can sprinkle some chocolate shavings here.
- Another option is bits of Oreo biscuits.
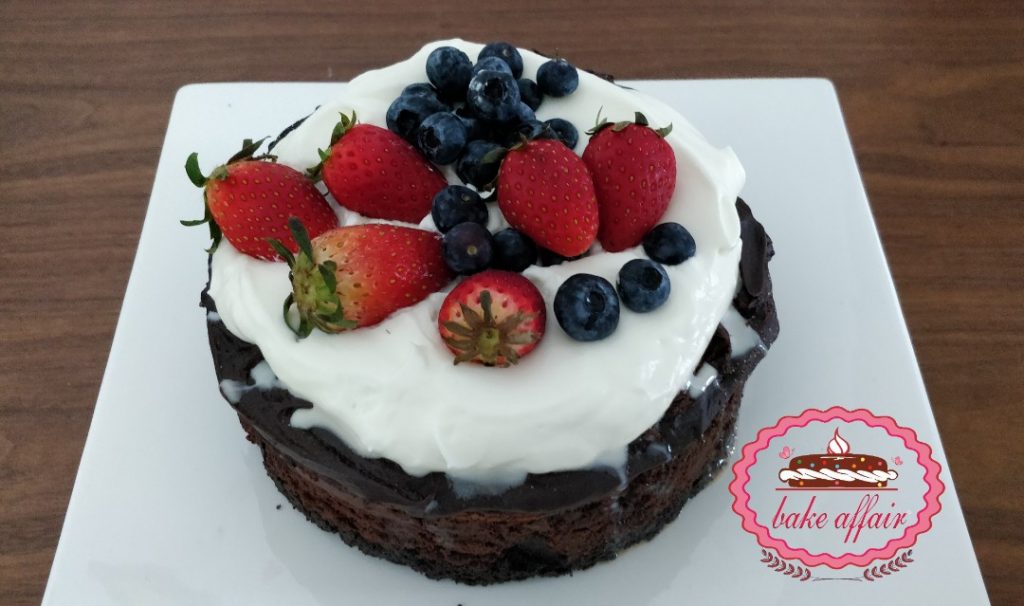
- But I will use my favourite topping (for almost everything in the world) – fresh summer berries!
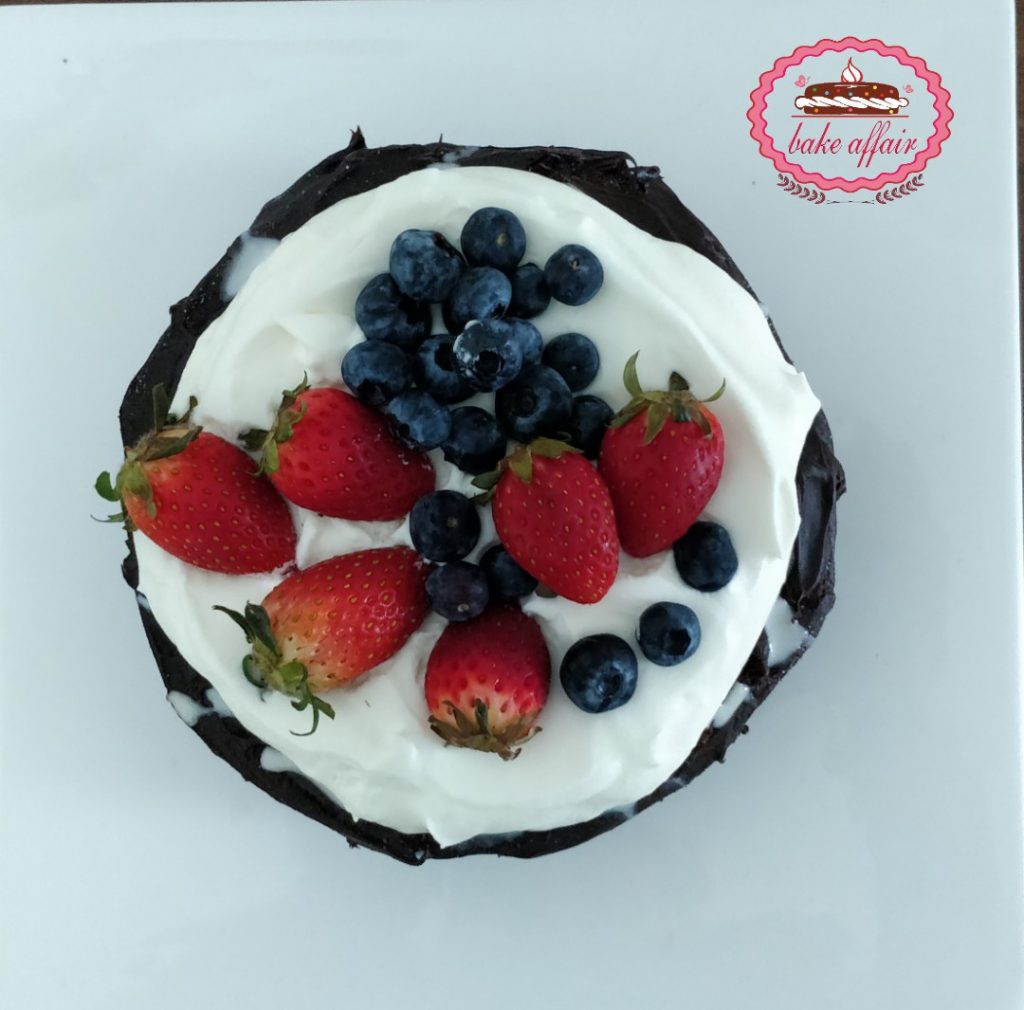
 So you see, its all your creativity!!
This, my friends, is the famous Mississippi Mud Pie… don’t be daunted by it… go ahead and make it!!
Before I wrap up this post, I want you to have a look at the texture of the flourless cake – I’m sure it will tempt you enough to get started yourself!
Tell me how many layers you made and how you topped it off. And most important, how long did it survive in you fridge?
Now grab your prettiest apron and a whisk, put on your favorite song and start creating the magic! Do share your experience of this post and recipe and your views and opinions! I would love to hear them!
▶️Instagram: https://www.instagram.com/anjalisbakeaffair
▶️Facebook: https://www.facebook.com/anjalisbakeaffair
▶️Twitter: https://www.twitter.com/anjalisbkaffair
▶️Pinterest: https://in.pinterest.com/anjalisbakeaffair/