

What You Will Need:
For the Caramel:
Sugar – 7 tbsp
Water – 2 tbsp
Okay so the thing about making a simple caramel is just that you need to know when to get it off the heat. That’s all its really about actually. The first step is to put the suagr and water in a pan and keeping it on the heat.
Keep the flame medium and you can stir to dissolve the sugar. After that, there isn’t much stirring needed. Just let it boil steadily as you swirl the pan around lightly to make sure the syrup gets evenly heated. I have this sequence of pictures that will show you how your syrup will gradually transform from a simple sugar syrup into a beautiful golden-amber caramel.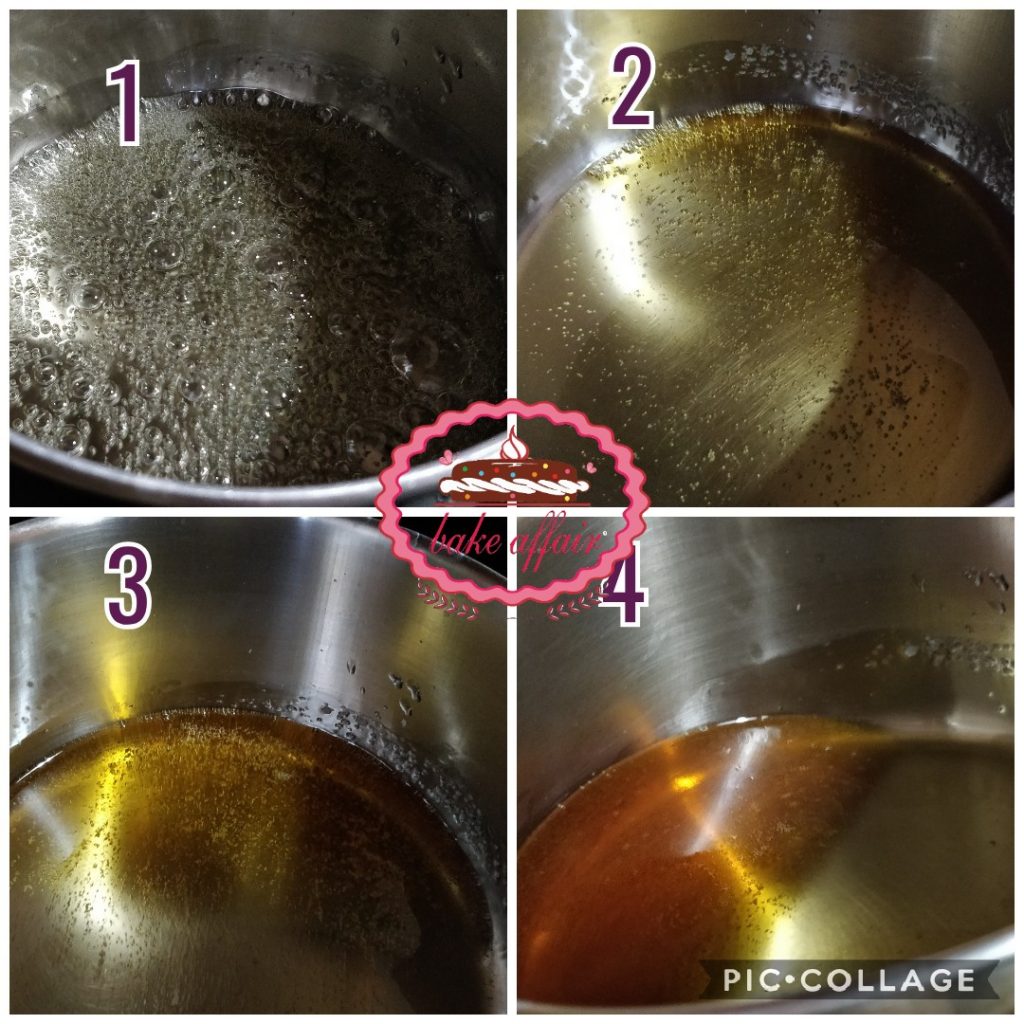 If you look carefully, in the second picture, you can see the colour changing ever so slightly. From this point on, it can all happen fast. Very soon, you’ll notice the unmistakable smell (I like to call it aroma though) of caramel in the making.
Yes, this change is a little show in the beginning but once the syrup turns golden, dont take your eyes off it and remember to keep swirling the pan around. Watch for the smell and take the pan off the heat just as you feel the smell is strong enough and bordering on the slightest bit burnt.
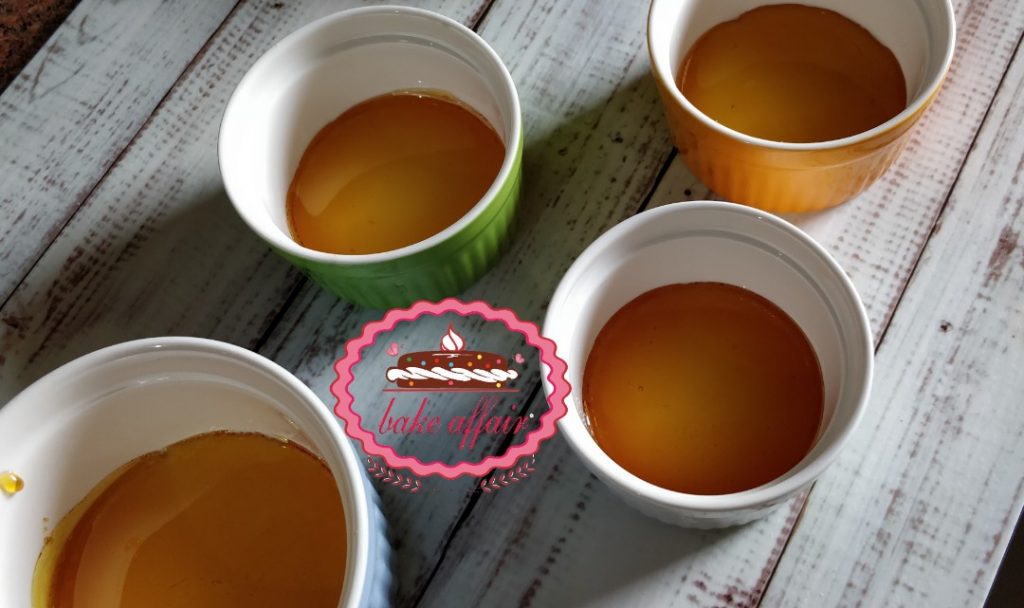
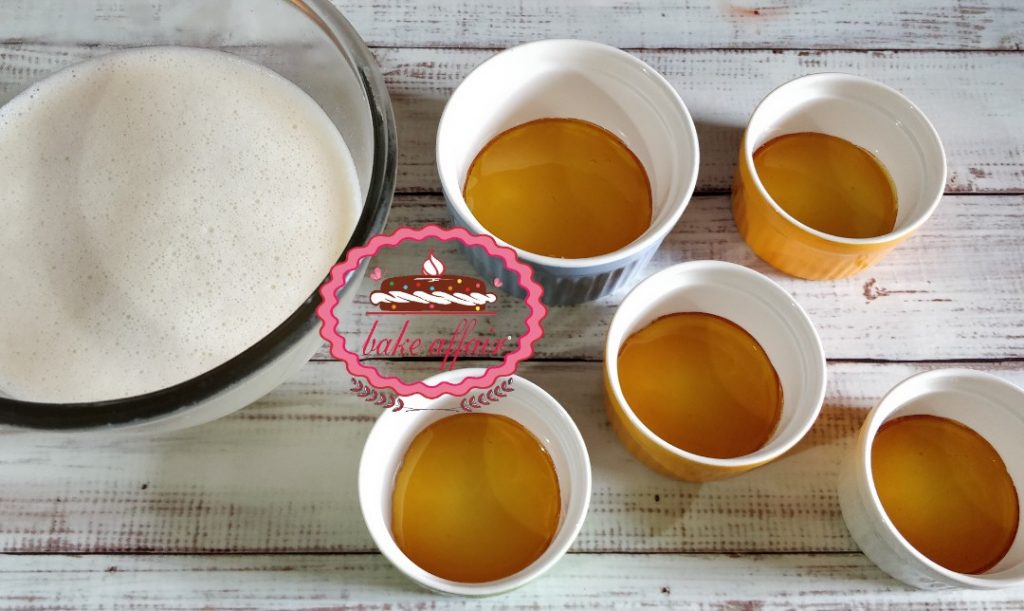
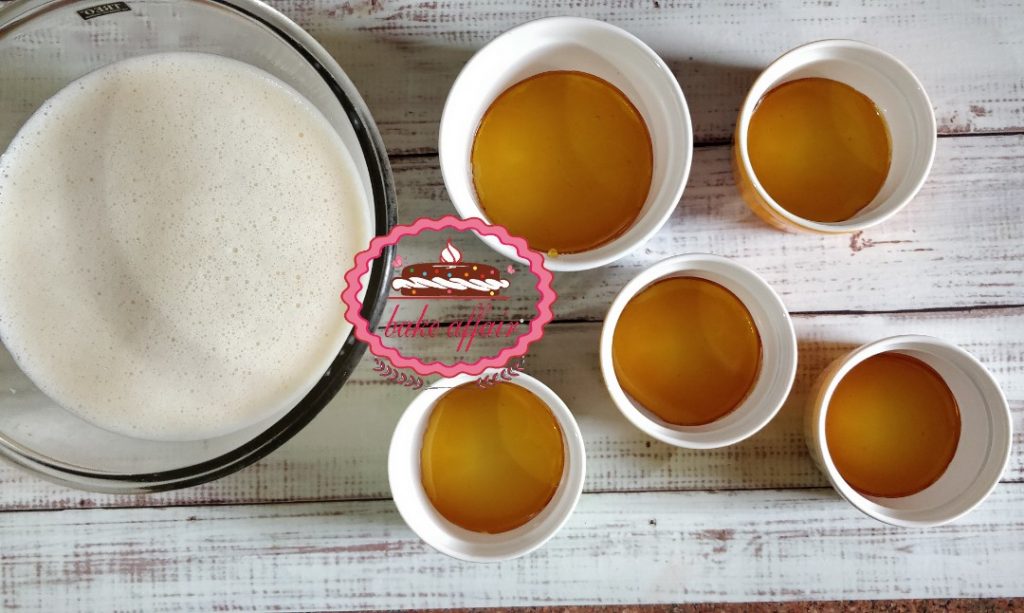
Look at the fourth picture in the collage above. This is the point when your caramel must get off the heat. It will still continue to darken after that. So quickly pour this caramel into the ramekins or your mould.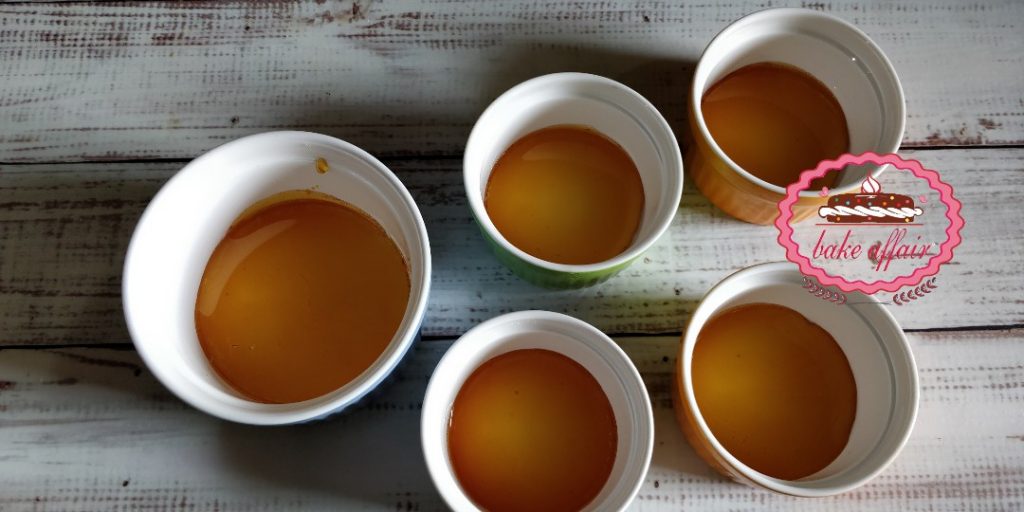
You just need to pour enough the cover the base of the mould. Now you can leave these and let the caramel set. Keep in the fridge is the weather is warm and outside if its cool enough. And now let’s get on with our cuatard. 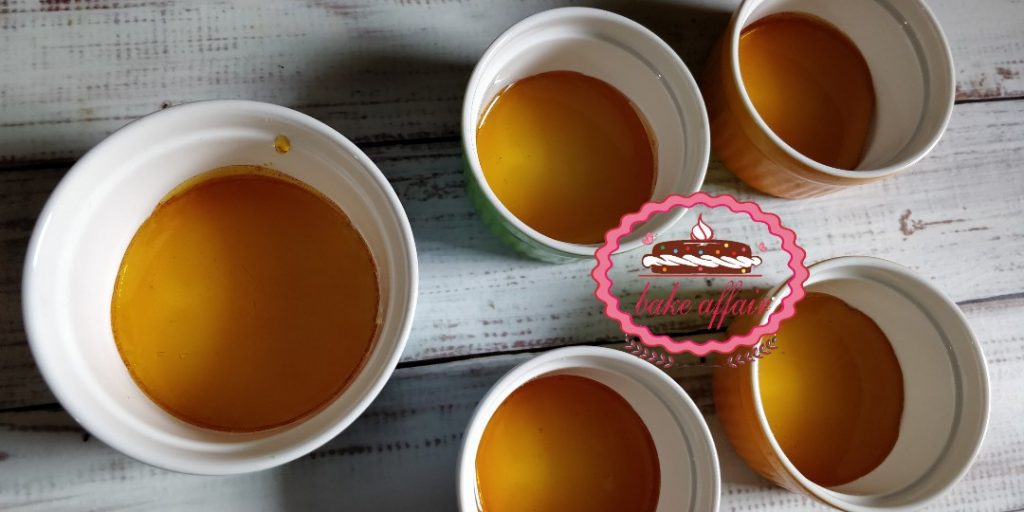
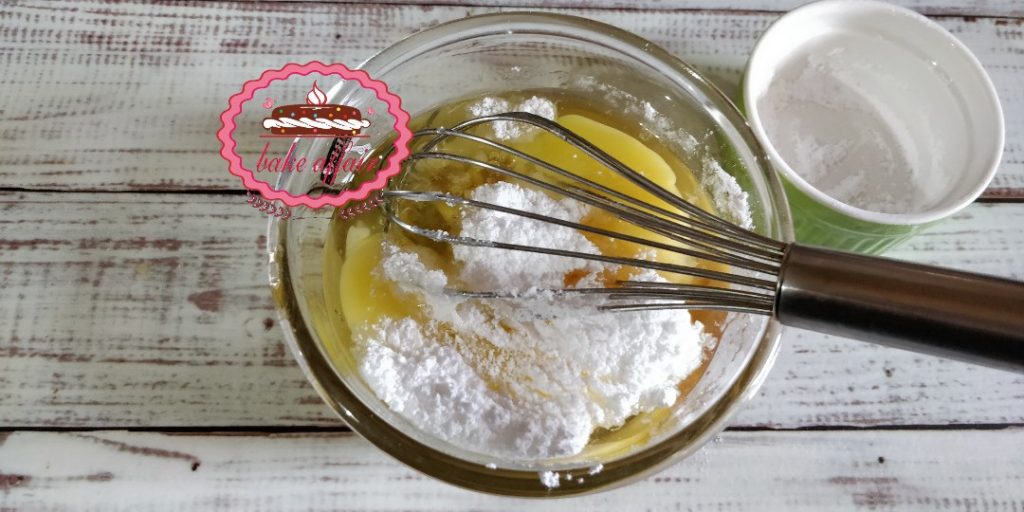
For the Custard: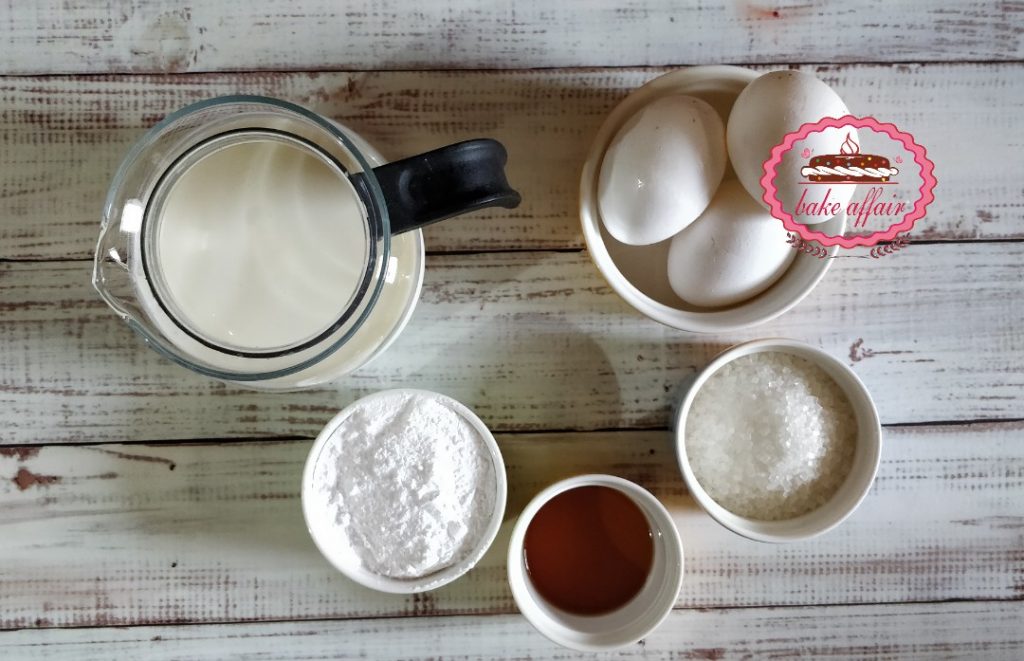
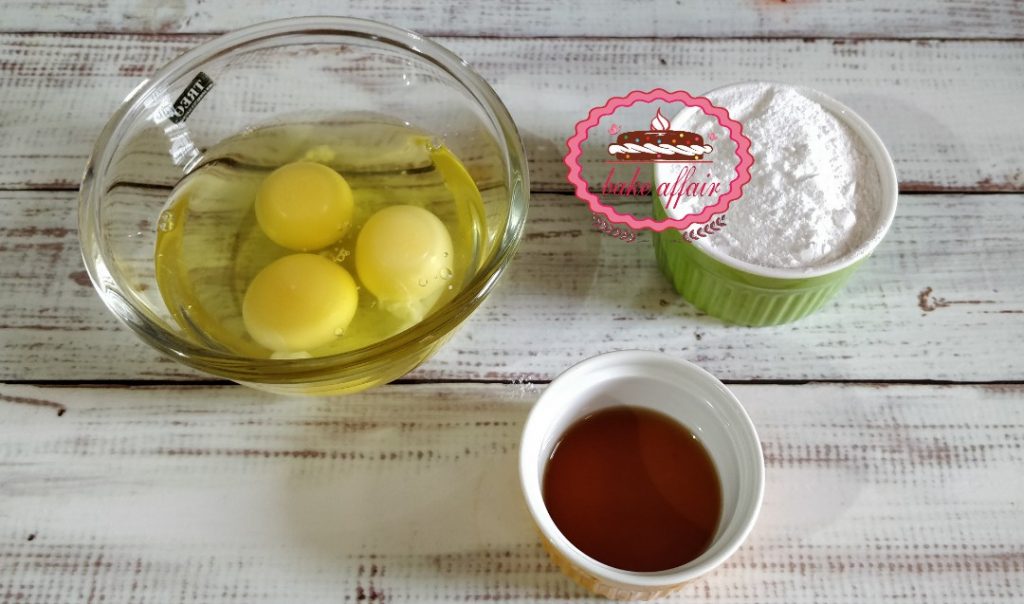
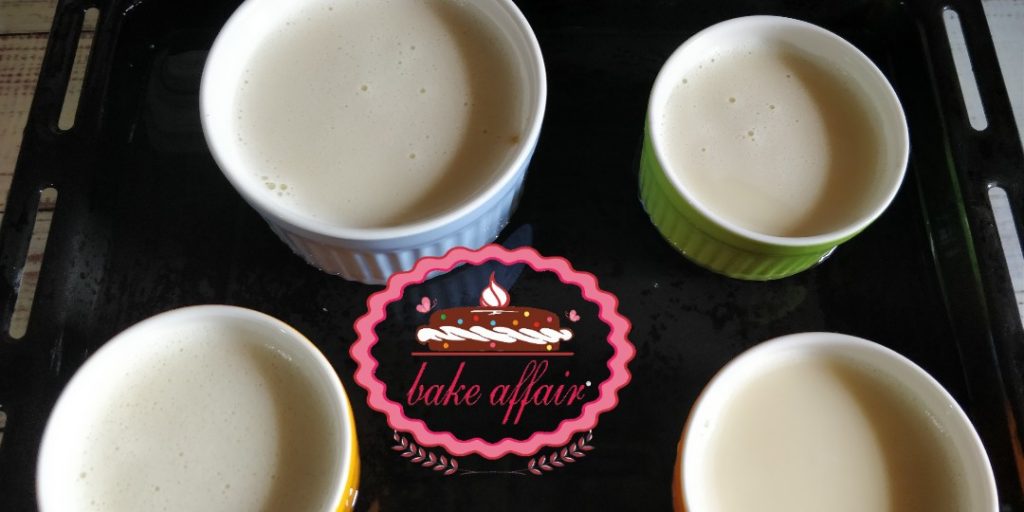
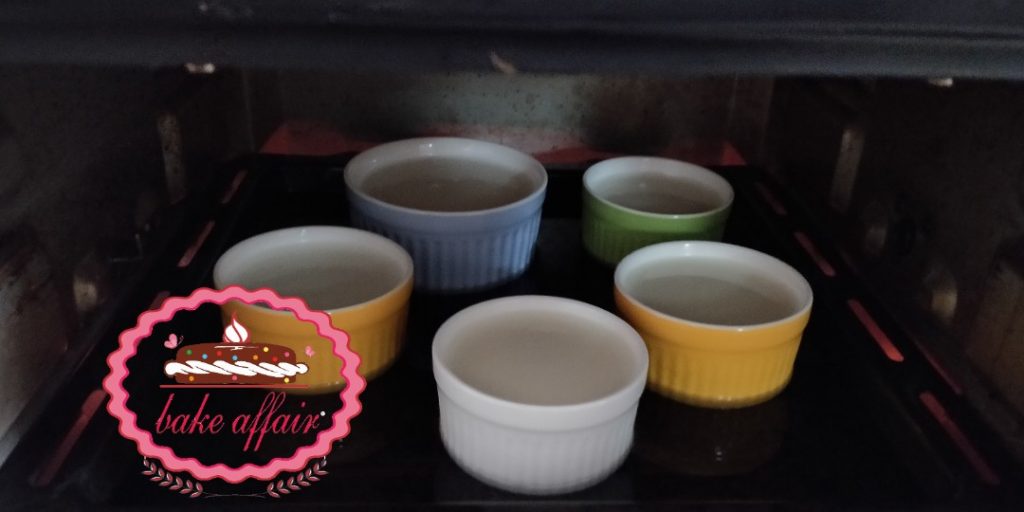
To make the custard:
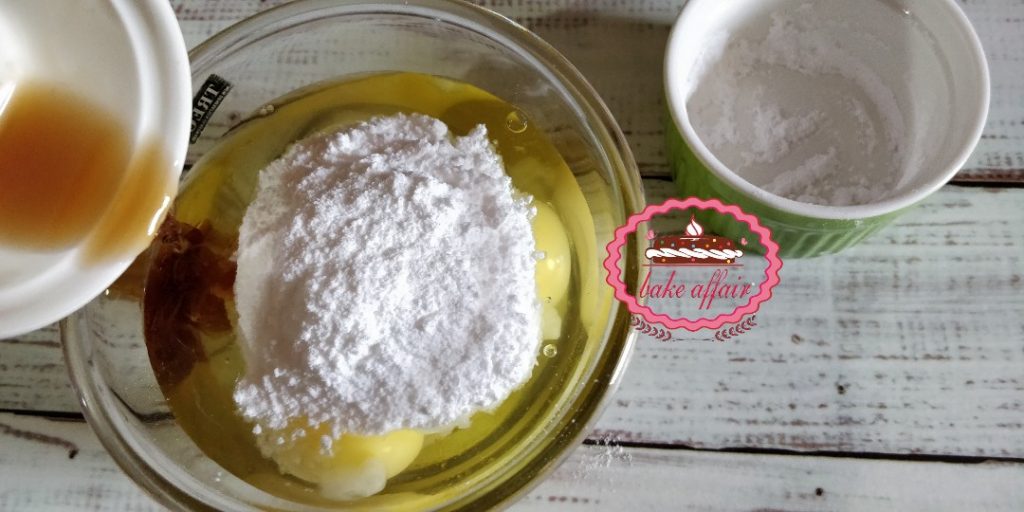
Important Note: Be very careful while doing this because if you pour in the hot milk too quickly, the eggs will cook and scramble and give you a mess. So add it slow and steady with one hand while whisking continuously with the other hand.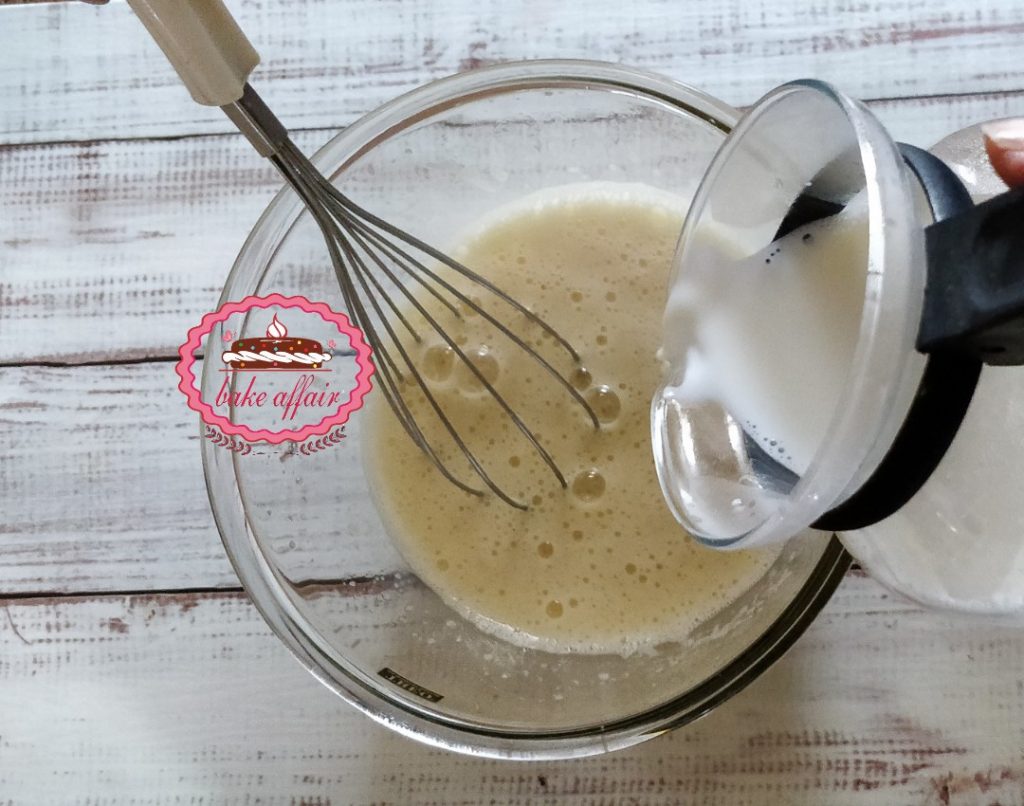
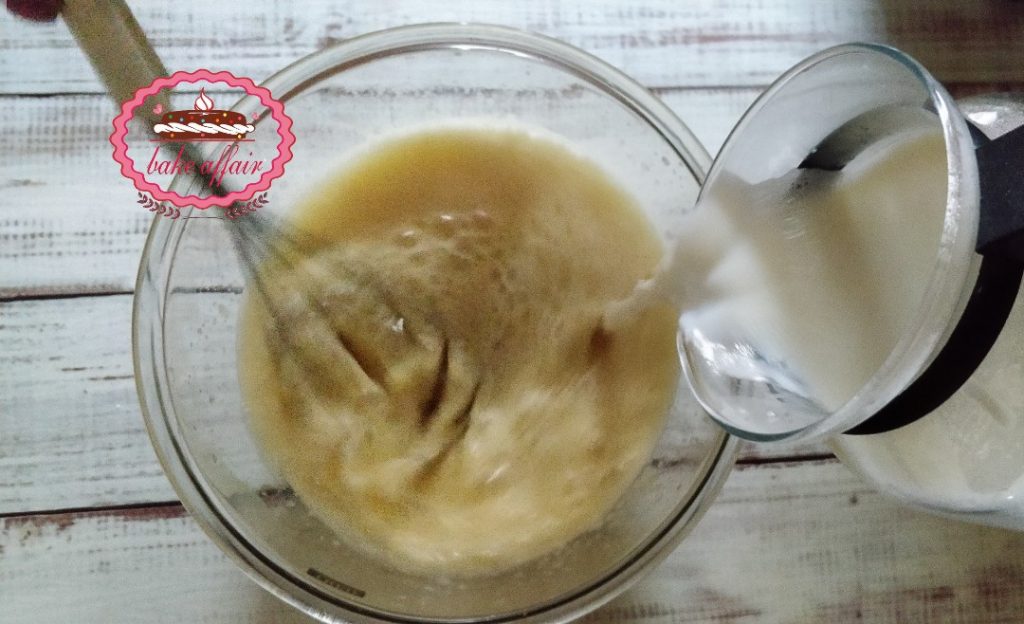
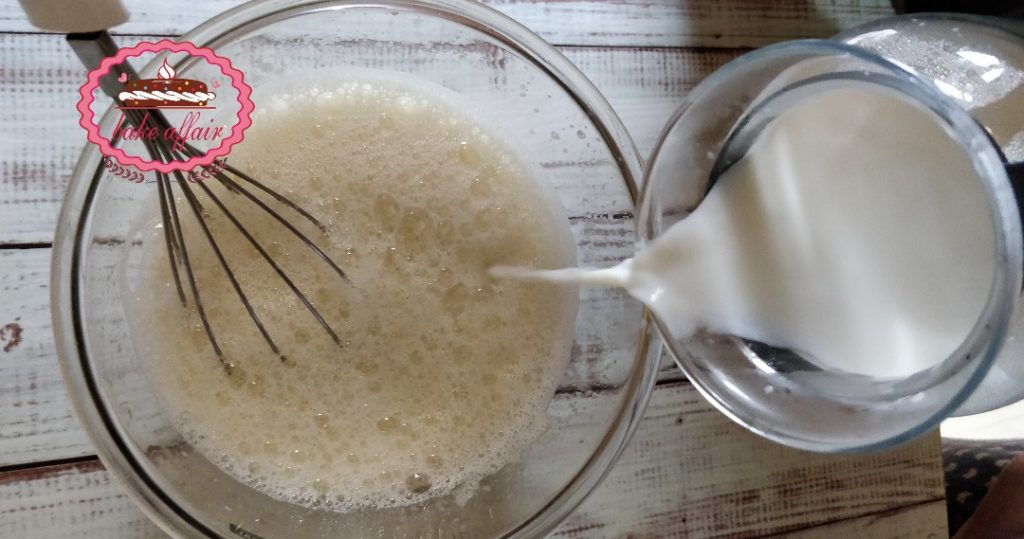
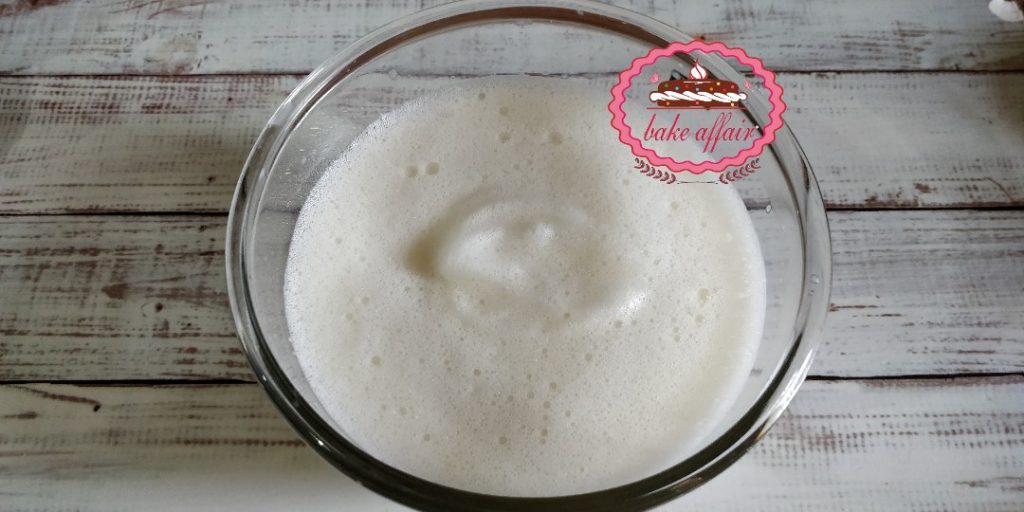
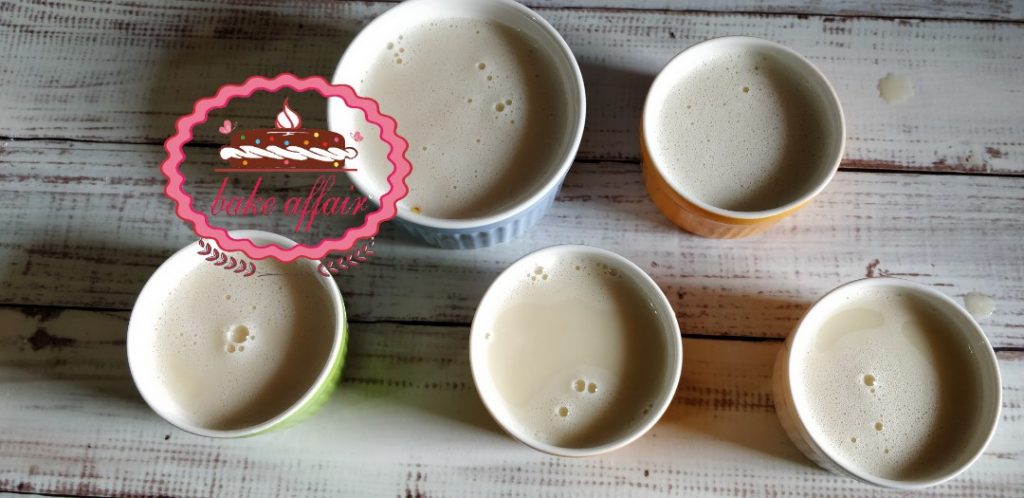
Keep whisking till you get a frothy liquid mixture. And yes, the mixture will be quite thin and that’s perfectly fine.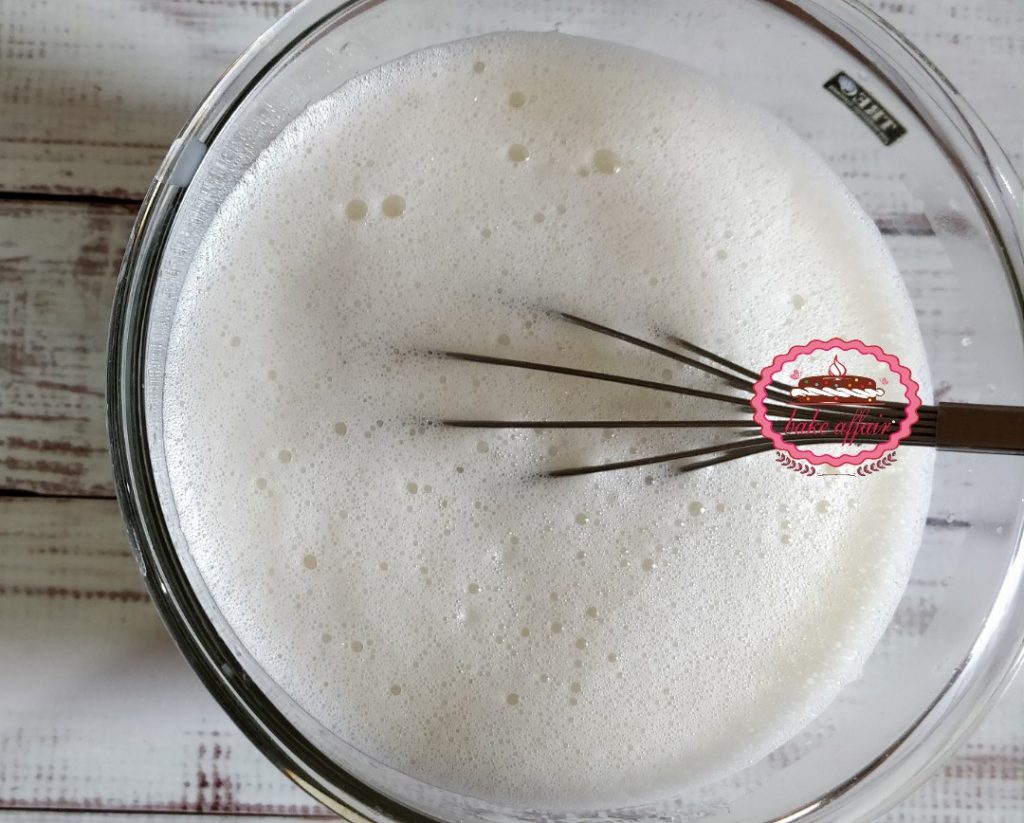
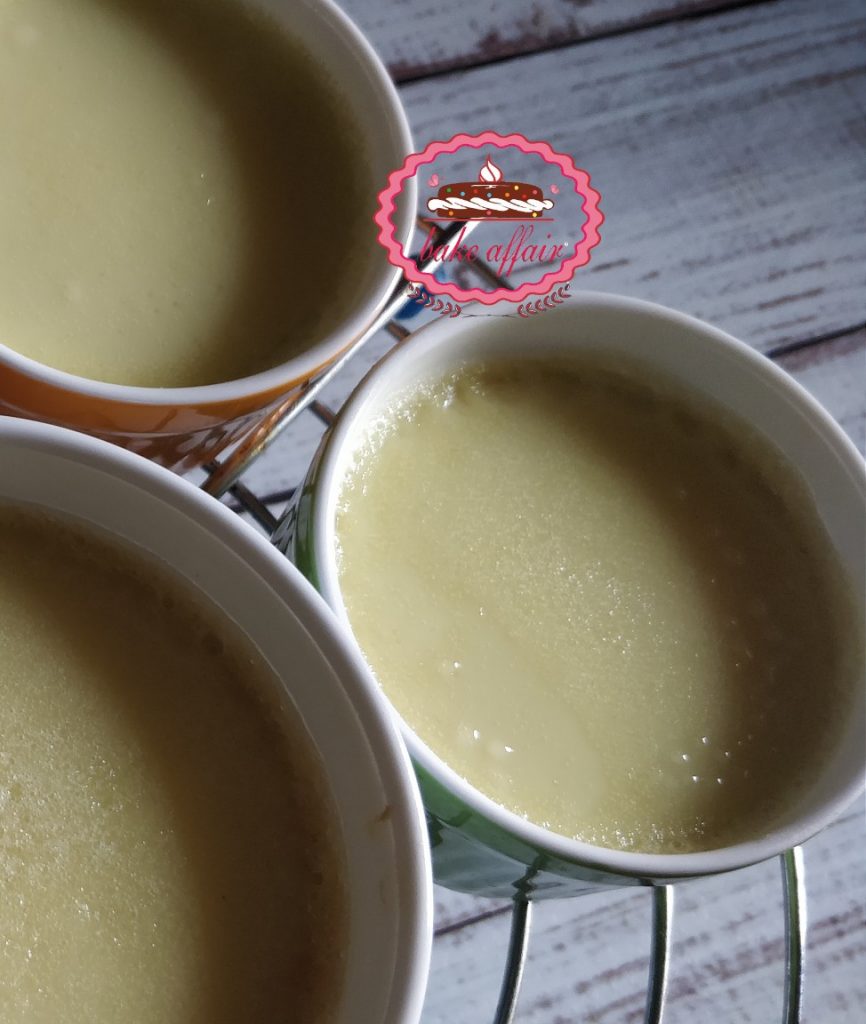
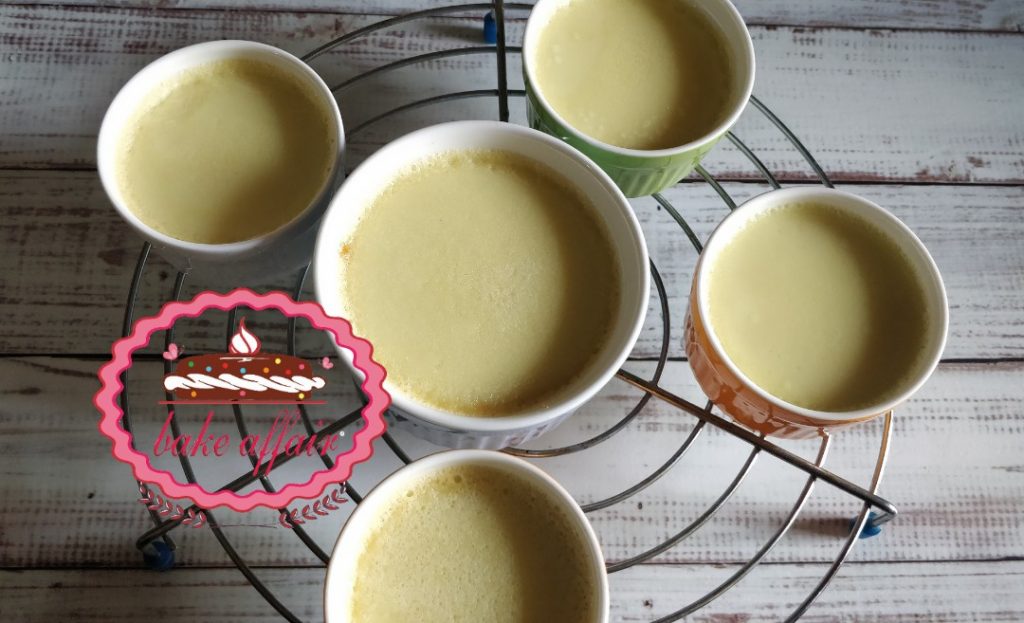
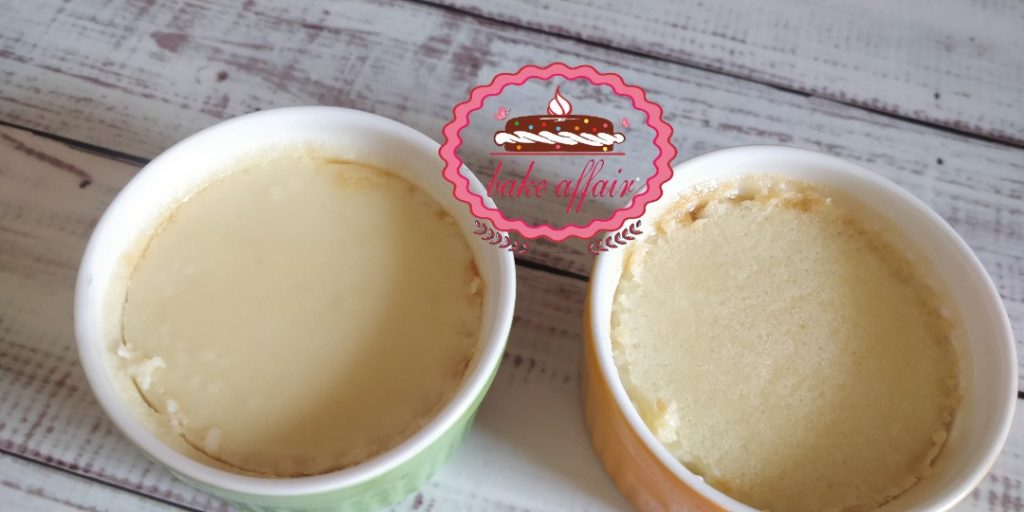
They should feel pretty delicate and bouncy to the touch.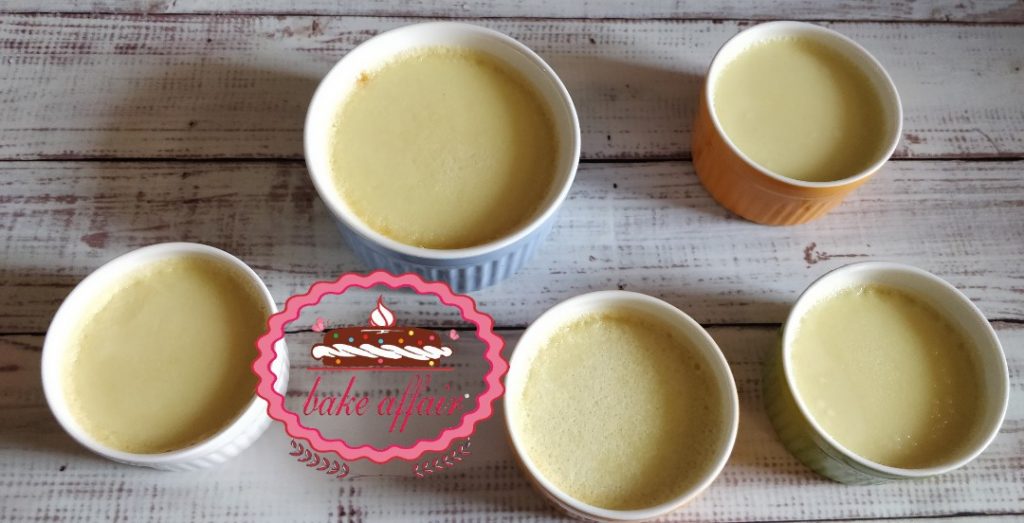
Place them on a wire rack and let them cool to room temperature before you keep them in the fridge to set for at least 1-2 hours and ideally overnight (yeah thats’s right, overnight sound a bit too much but believe me, I know what I’m talking about).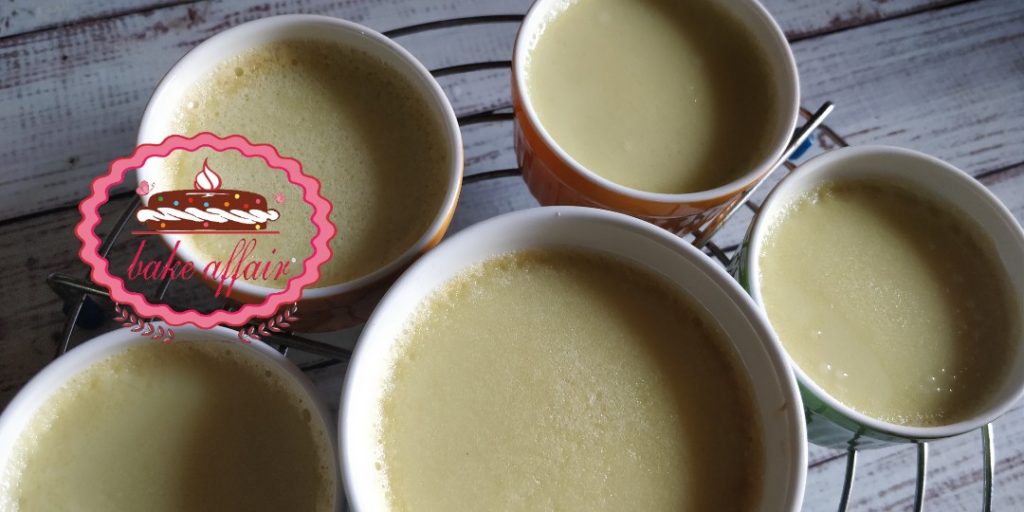
Once out of the fridge, take a sharp knife and loosen the edges and sides of the custard so that when you demould it, it comes out clean and nice.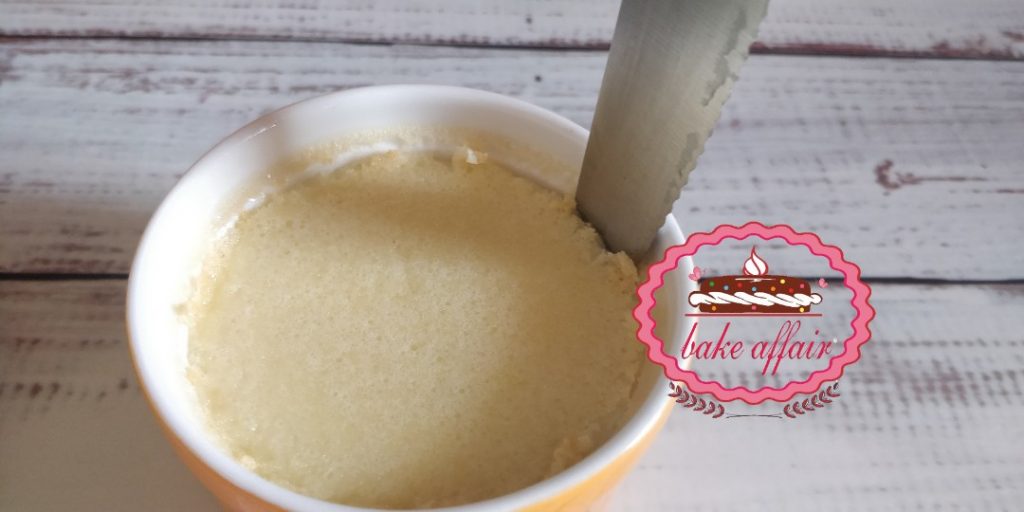
Invert the serving plate on the ramekin (like in the picture numbered 3 below). Then flip the plate so that the ramekin is inverted on the plate (like in the picture numbered 4 below).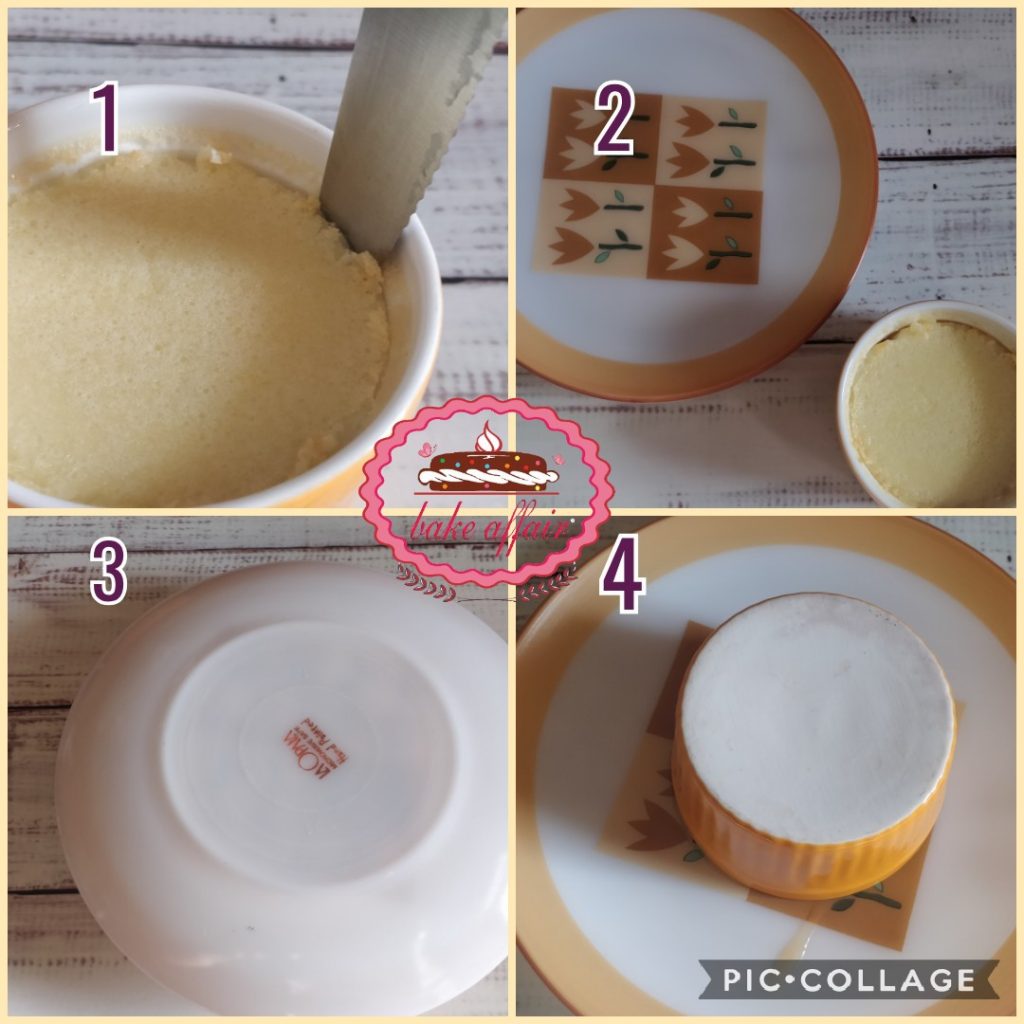
Now tap-tap-tap on the ramekin and the custard will easily slide out from the ramekin and on to the plate.
And there you have the lovely little bundles of yumminess… all done. They should be wobbly and do a little jiggle when you touch them.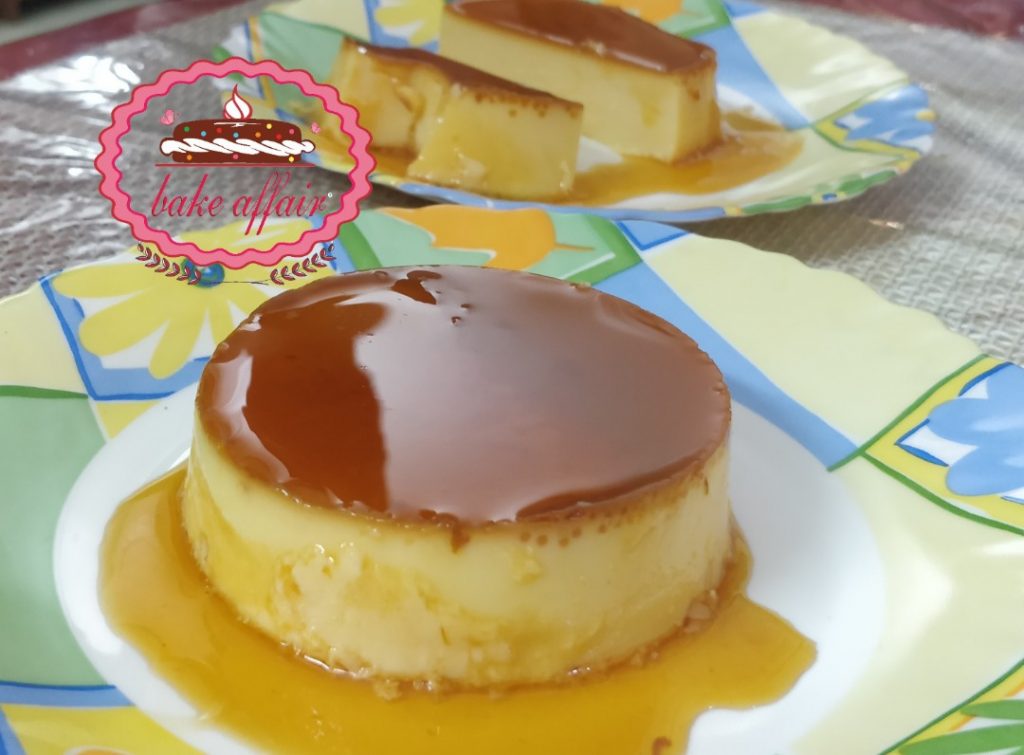
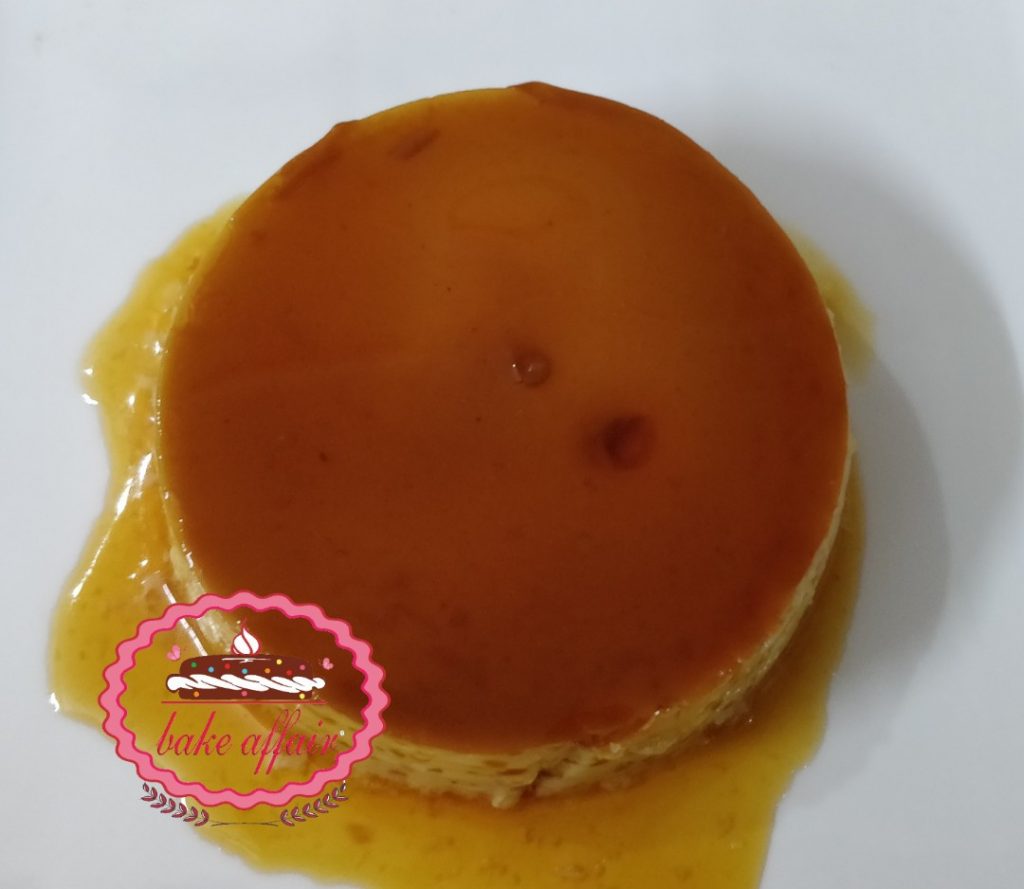
Have a look at this beautiful little baby. Check out the reflective shine on the caramel and in the following pictures.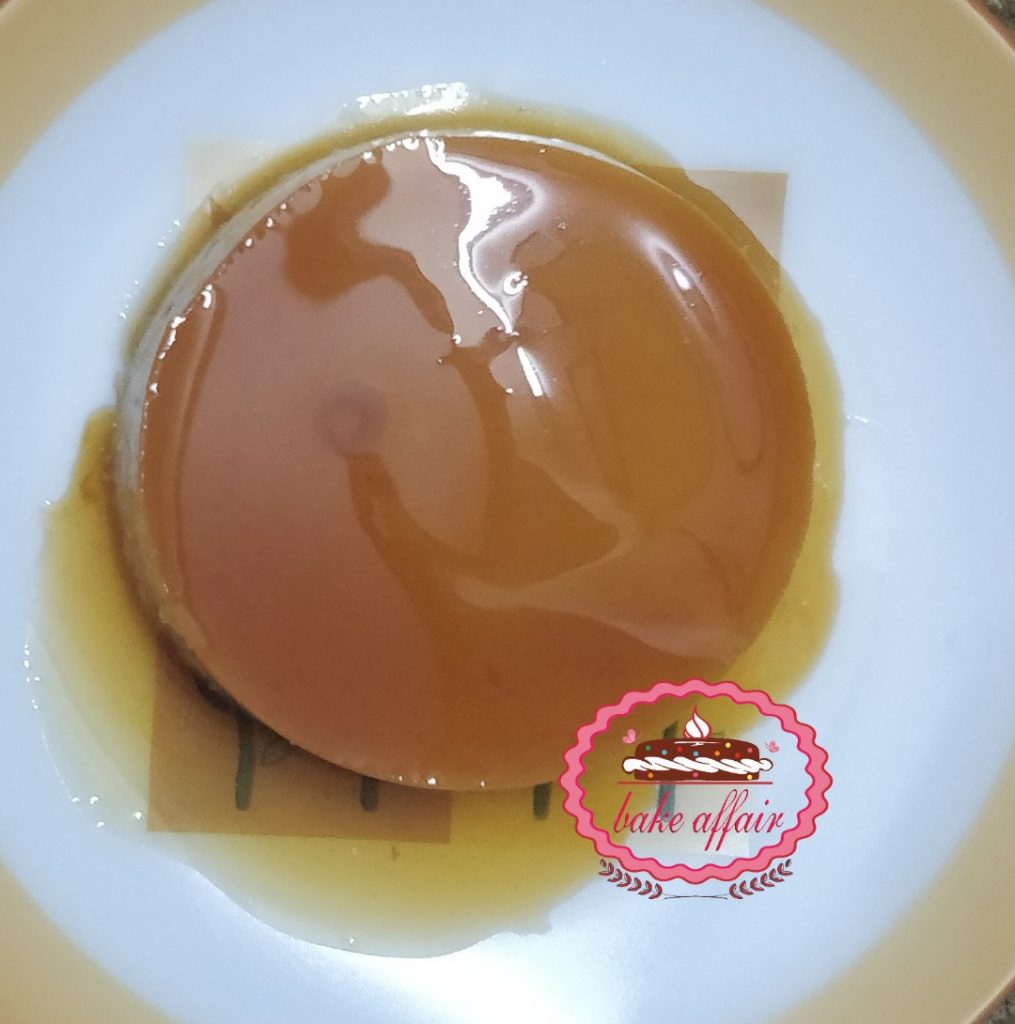

Notice the texture when the custard is cut into.
Of course I couldn’t wait to dig into it…. so go ahead, get your stuff ready and get bakin’!!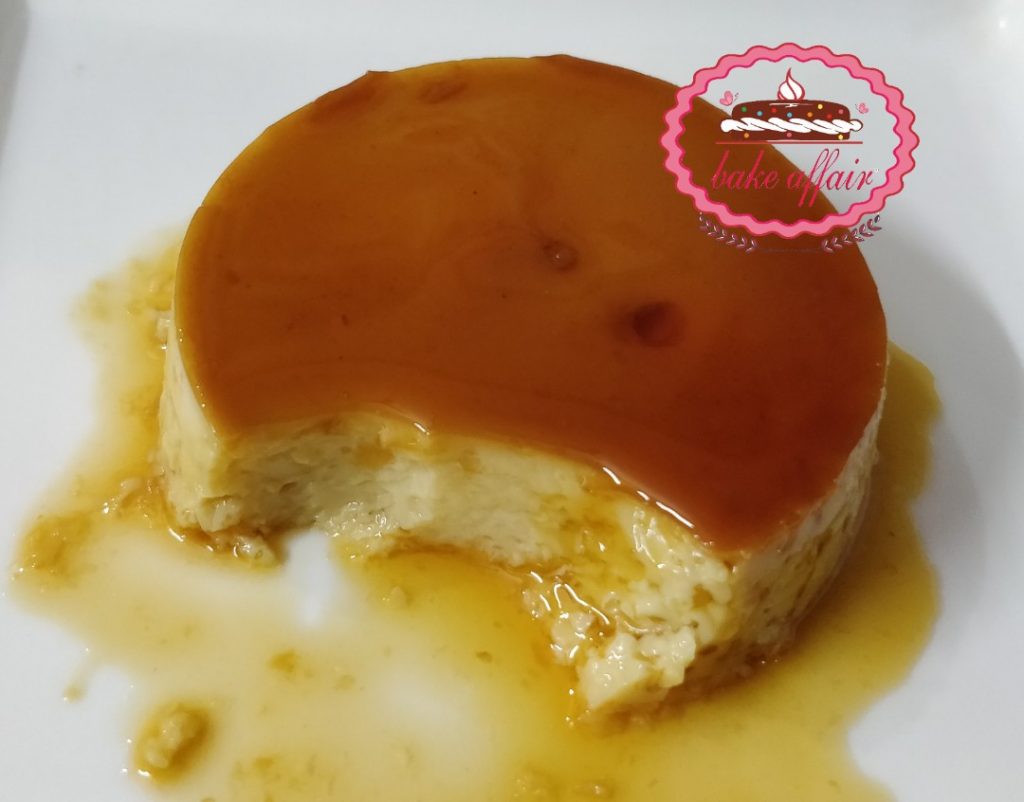
So what are you waiting for? Grab your prettiest apron and a whisk, put on your favorite song and start creating the magic!! Do share your experience of this post and recipe and your views and opinions! I would love to hear them!!
Wow Anjali so beautifully explained.Yummy it looks and iam sure it tastes yummy also.Will surely try.Best wishes.
Thankyou so much Kalpana! Glad you loved it 🙂